Get Creating with Examples and Tips
-
Step 1:
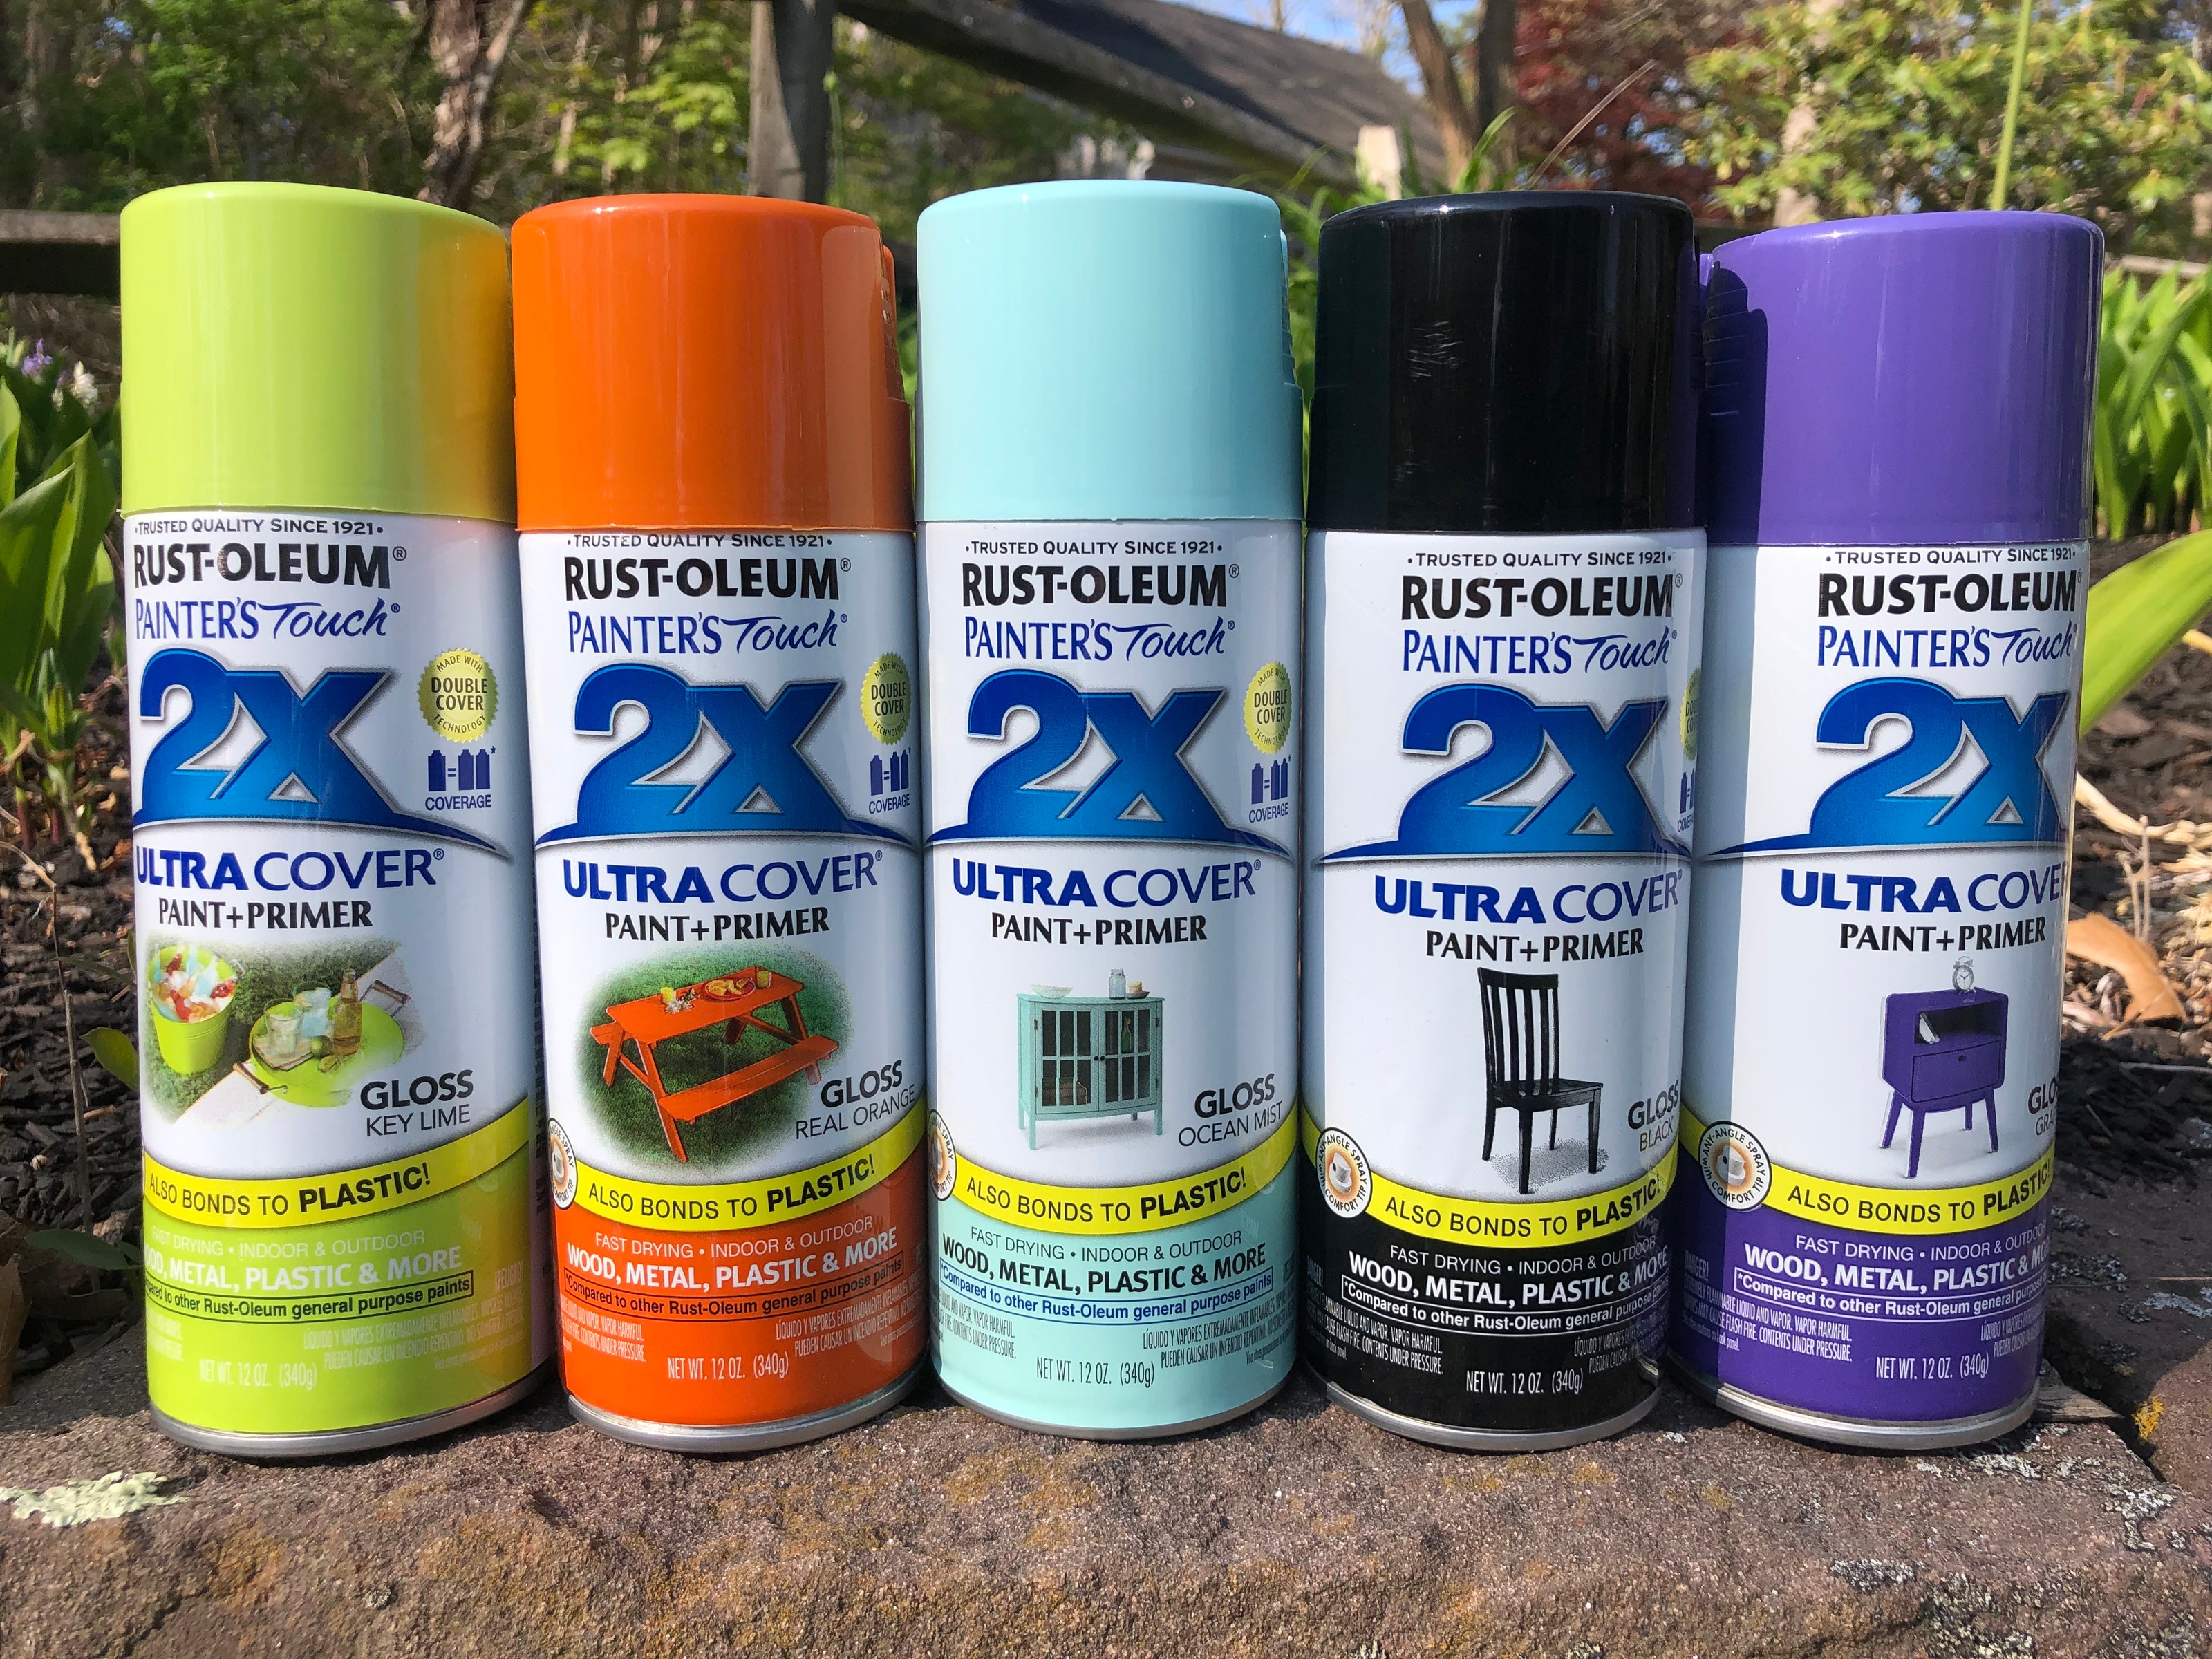
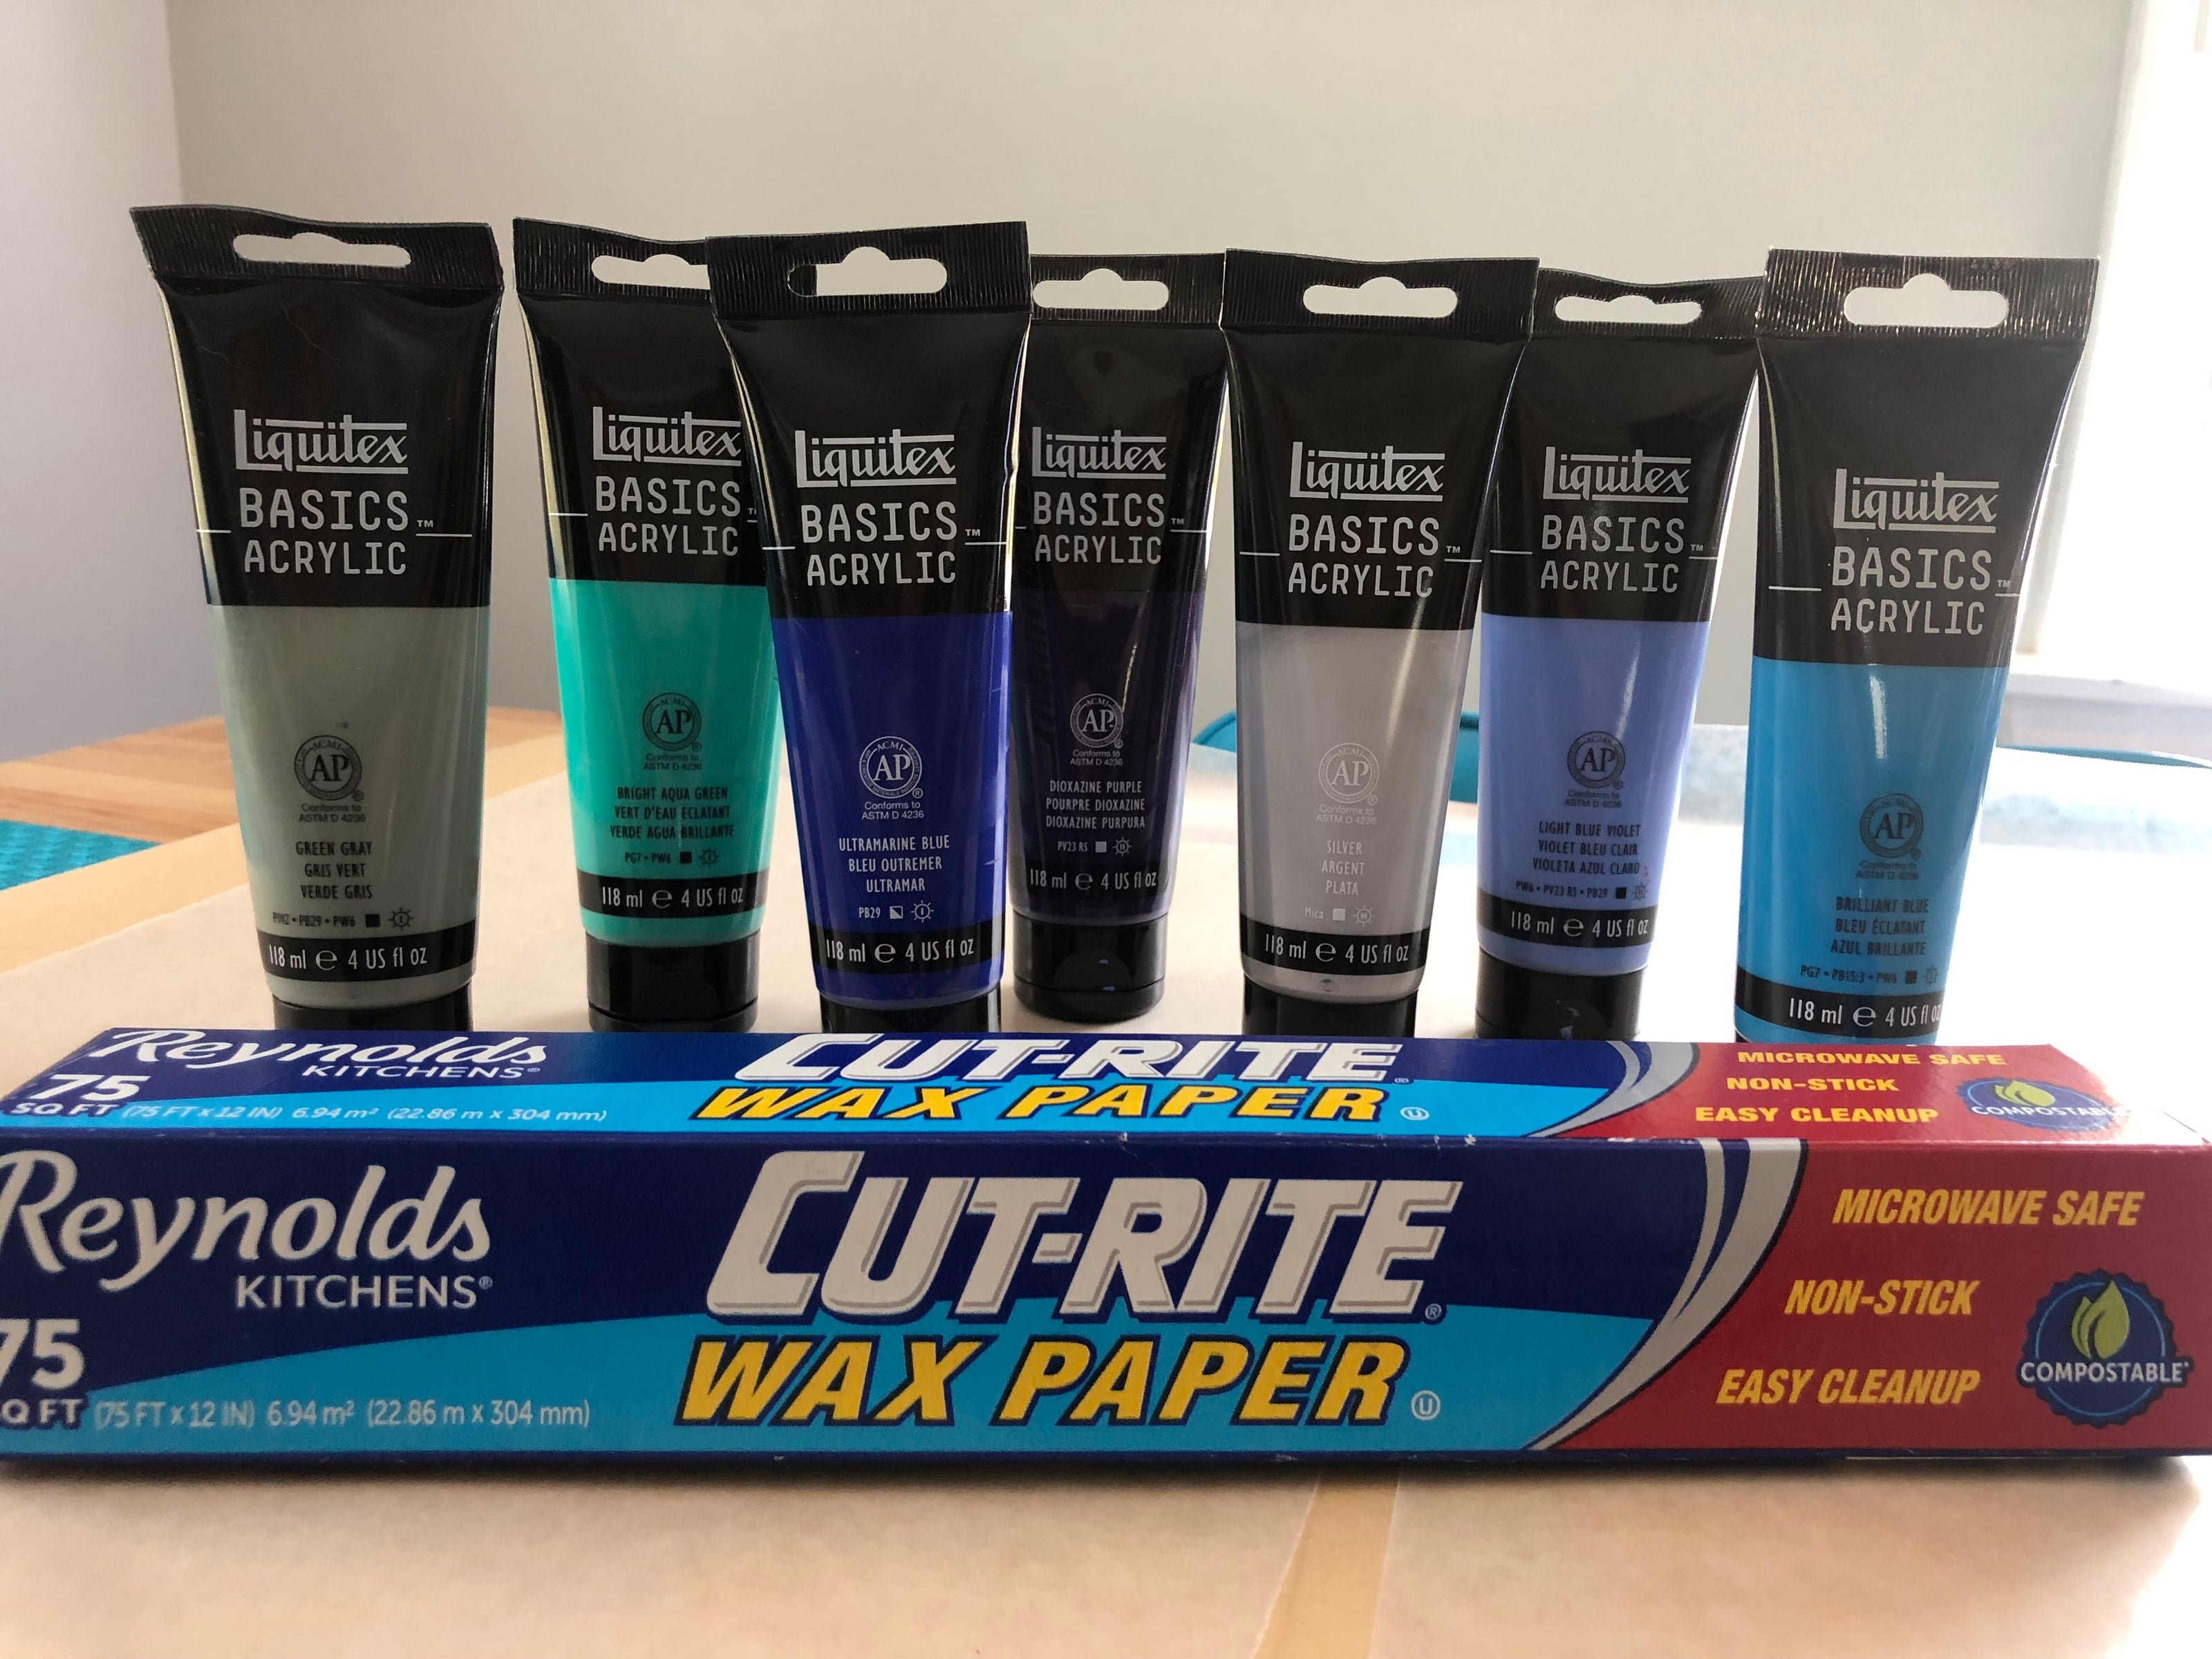
Gather wax paper and a collection of inexpensive acrylic paints in the color palette you want.
-
Step 2:
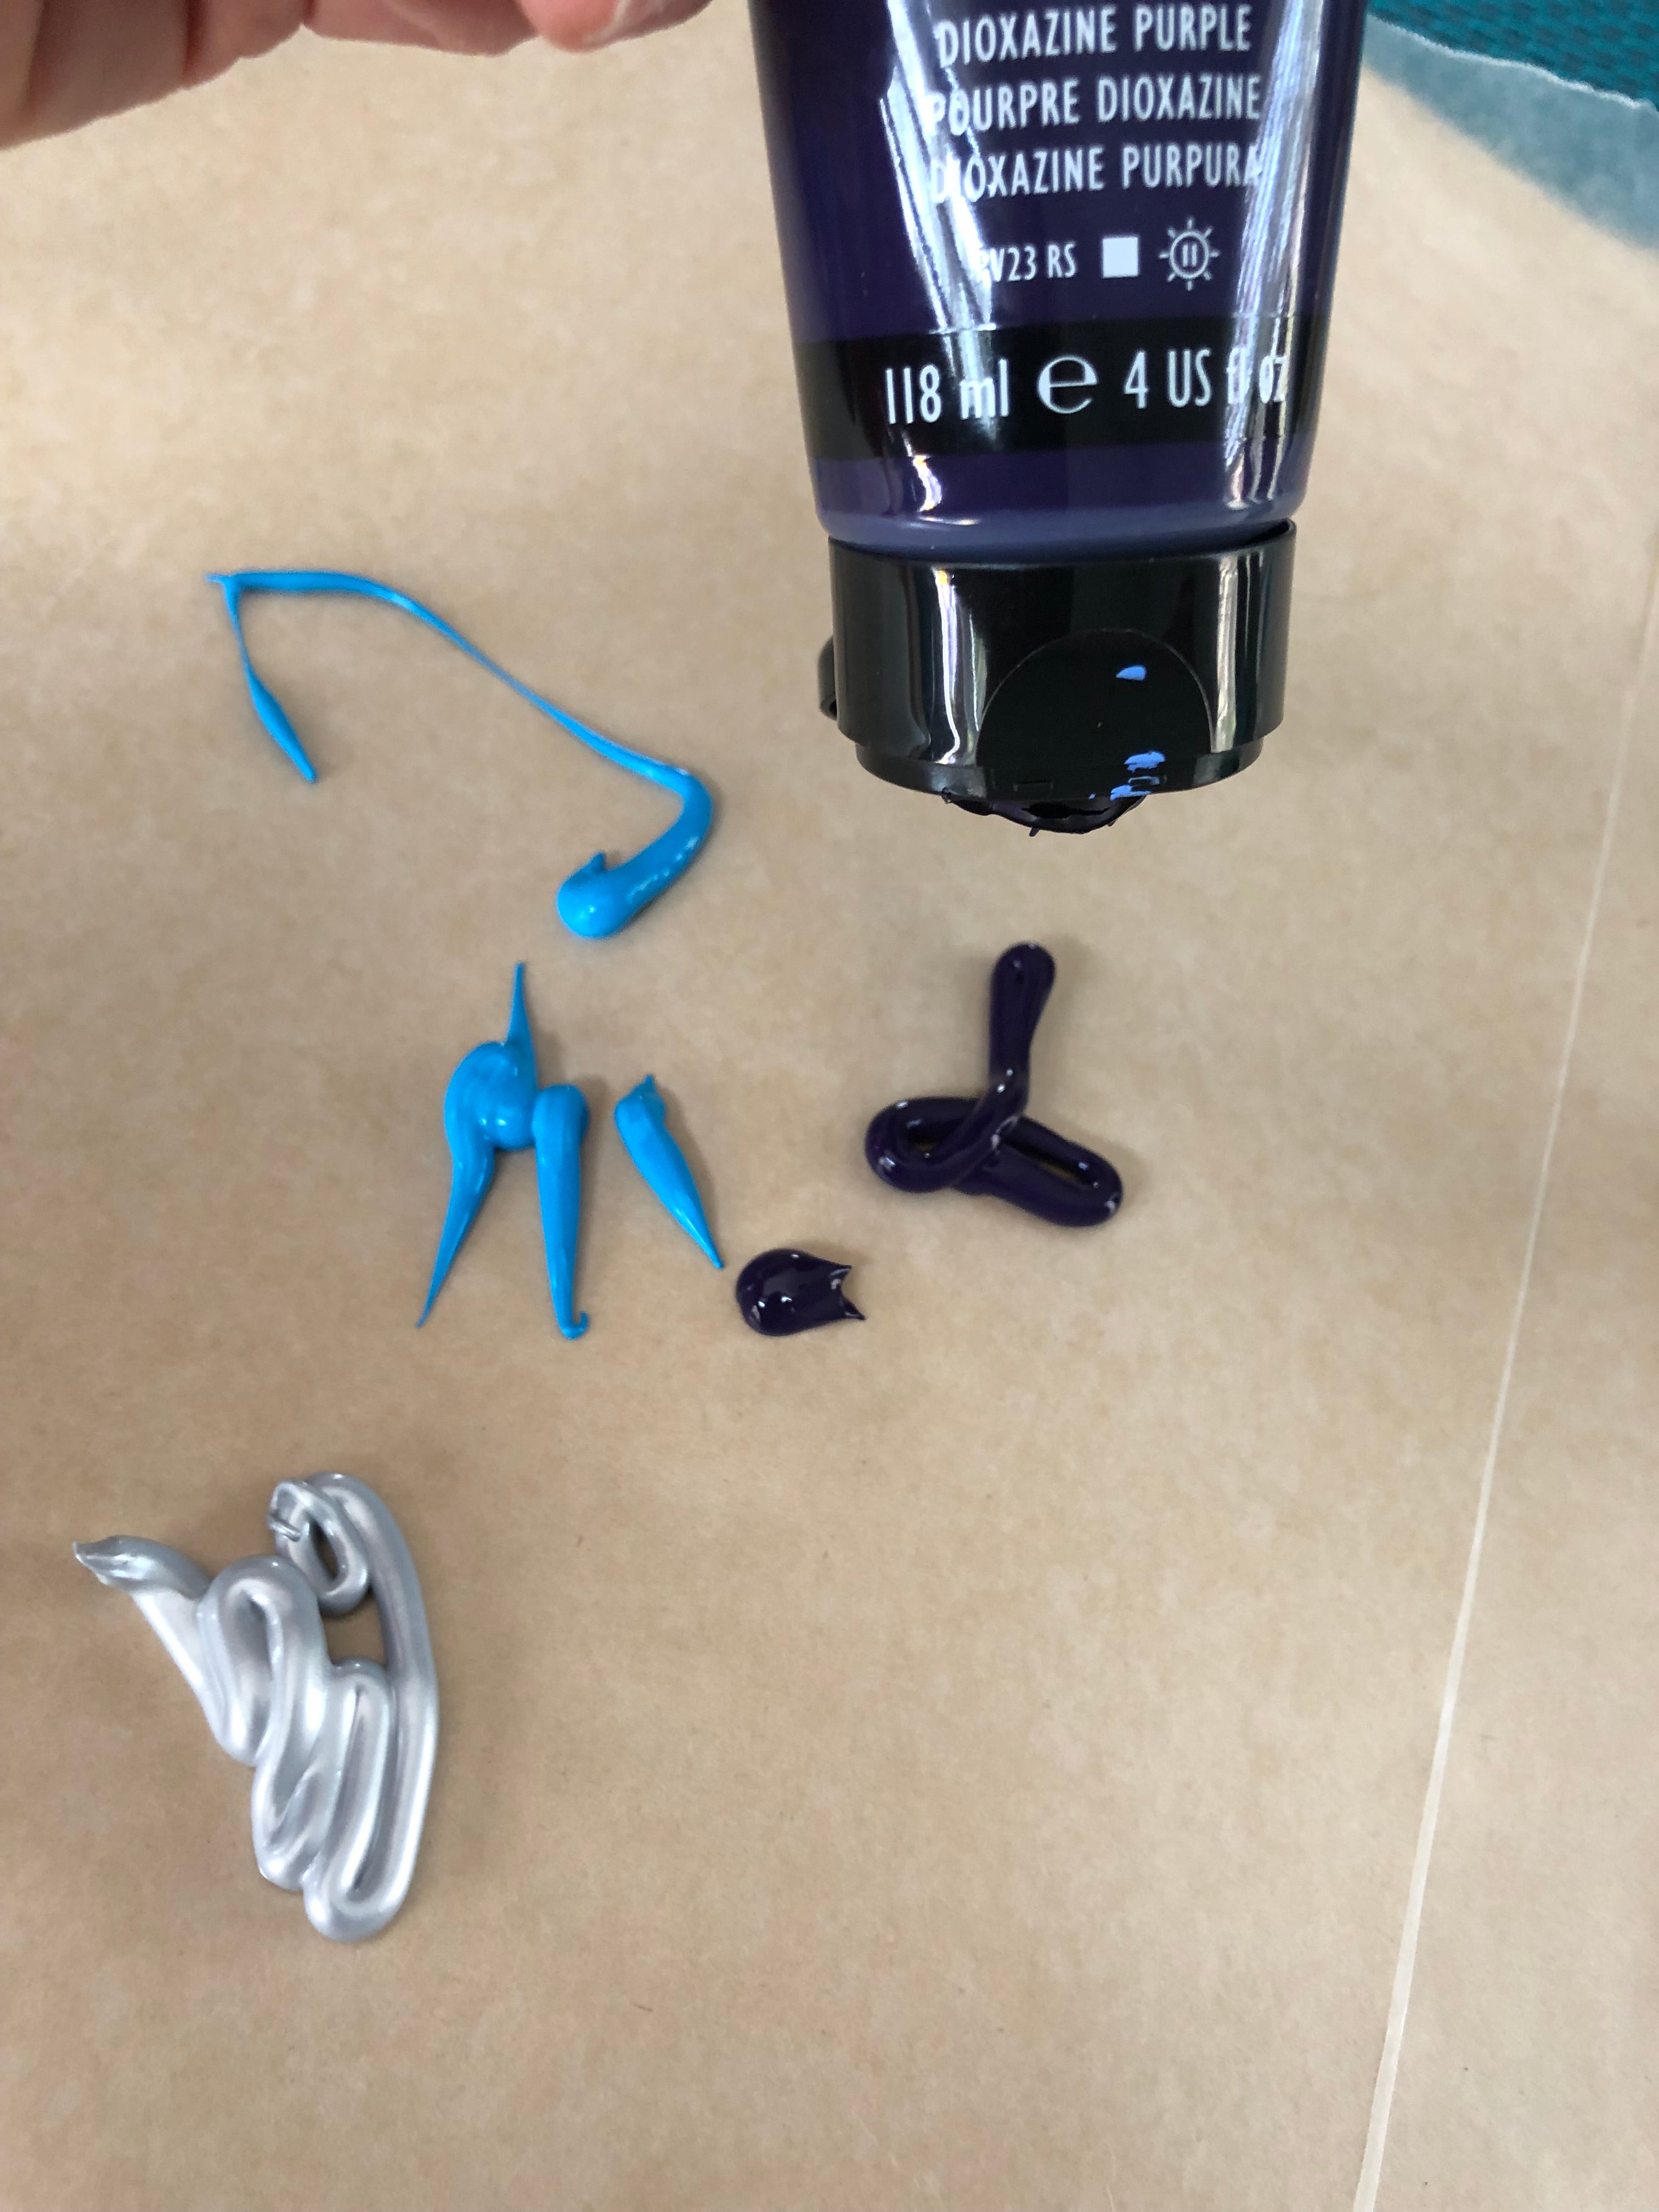
Tear off a sheet of wax paper. Squeeze some acrylic paints randomly onto the wax paper.
-
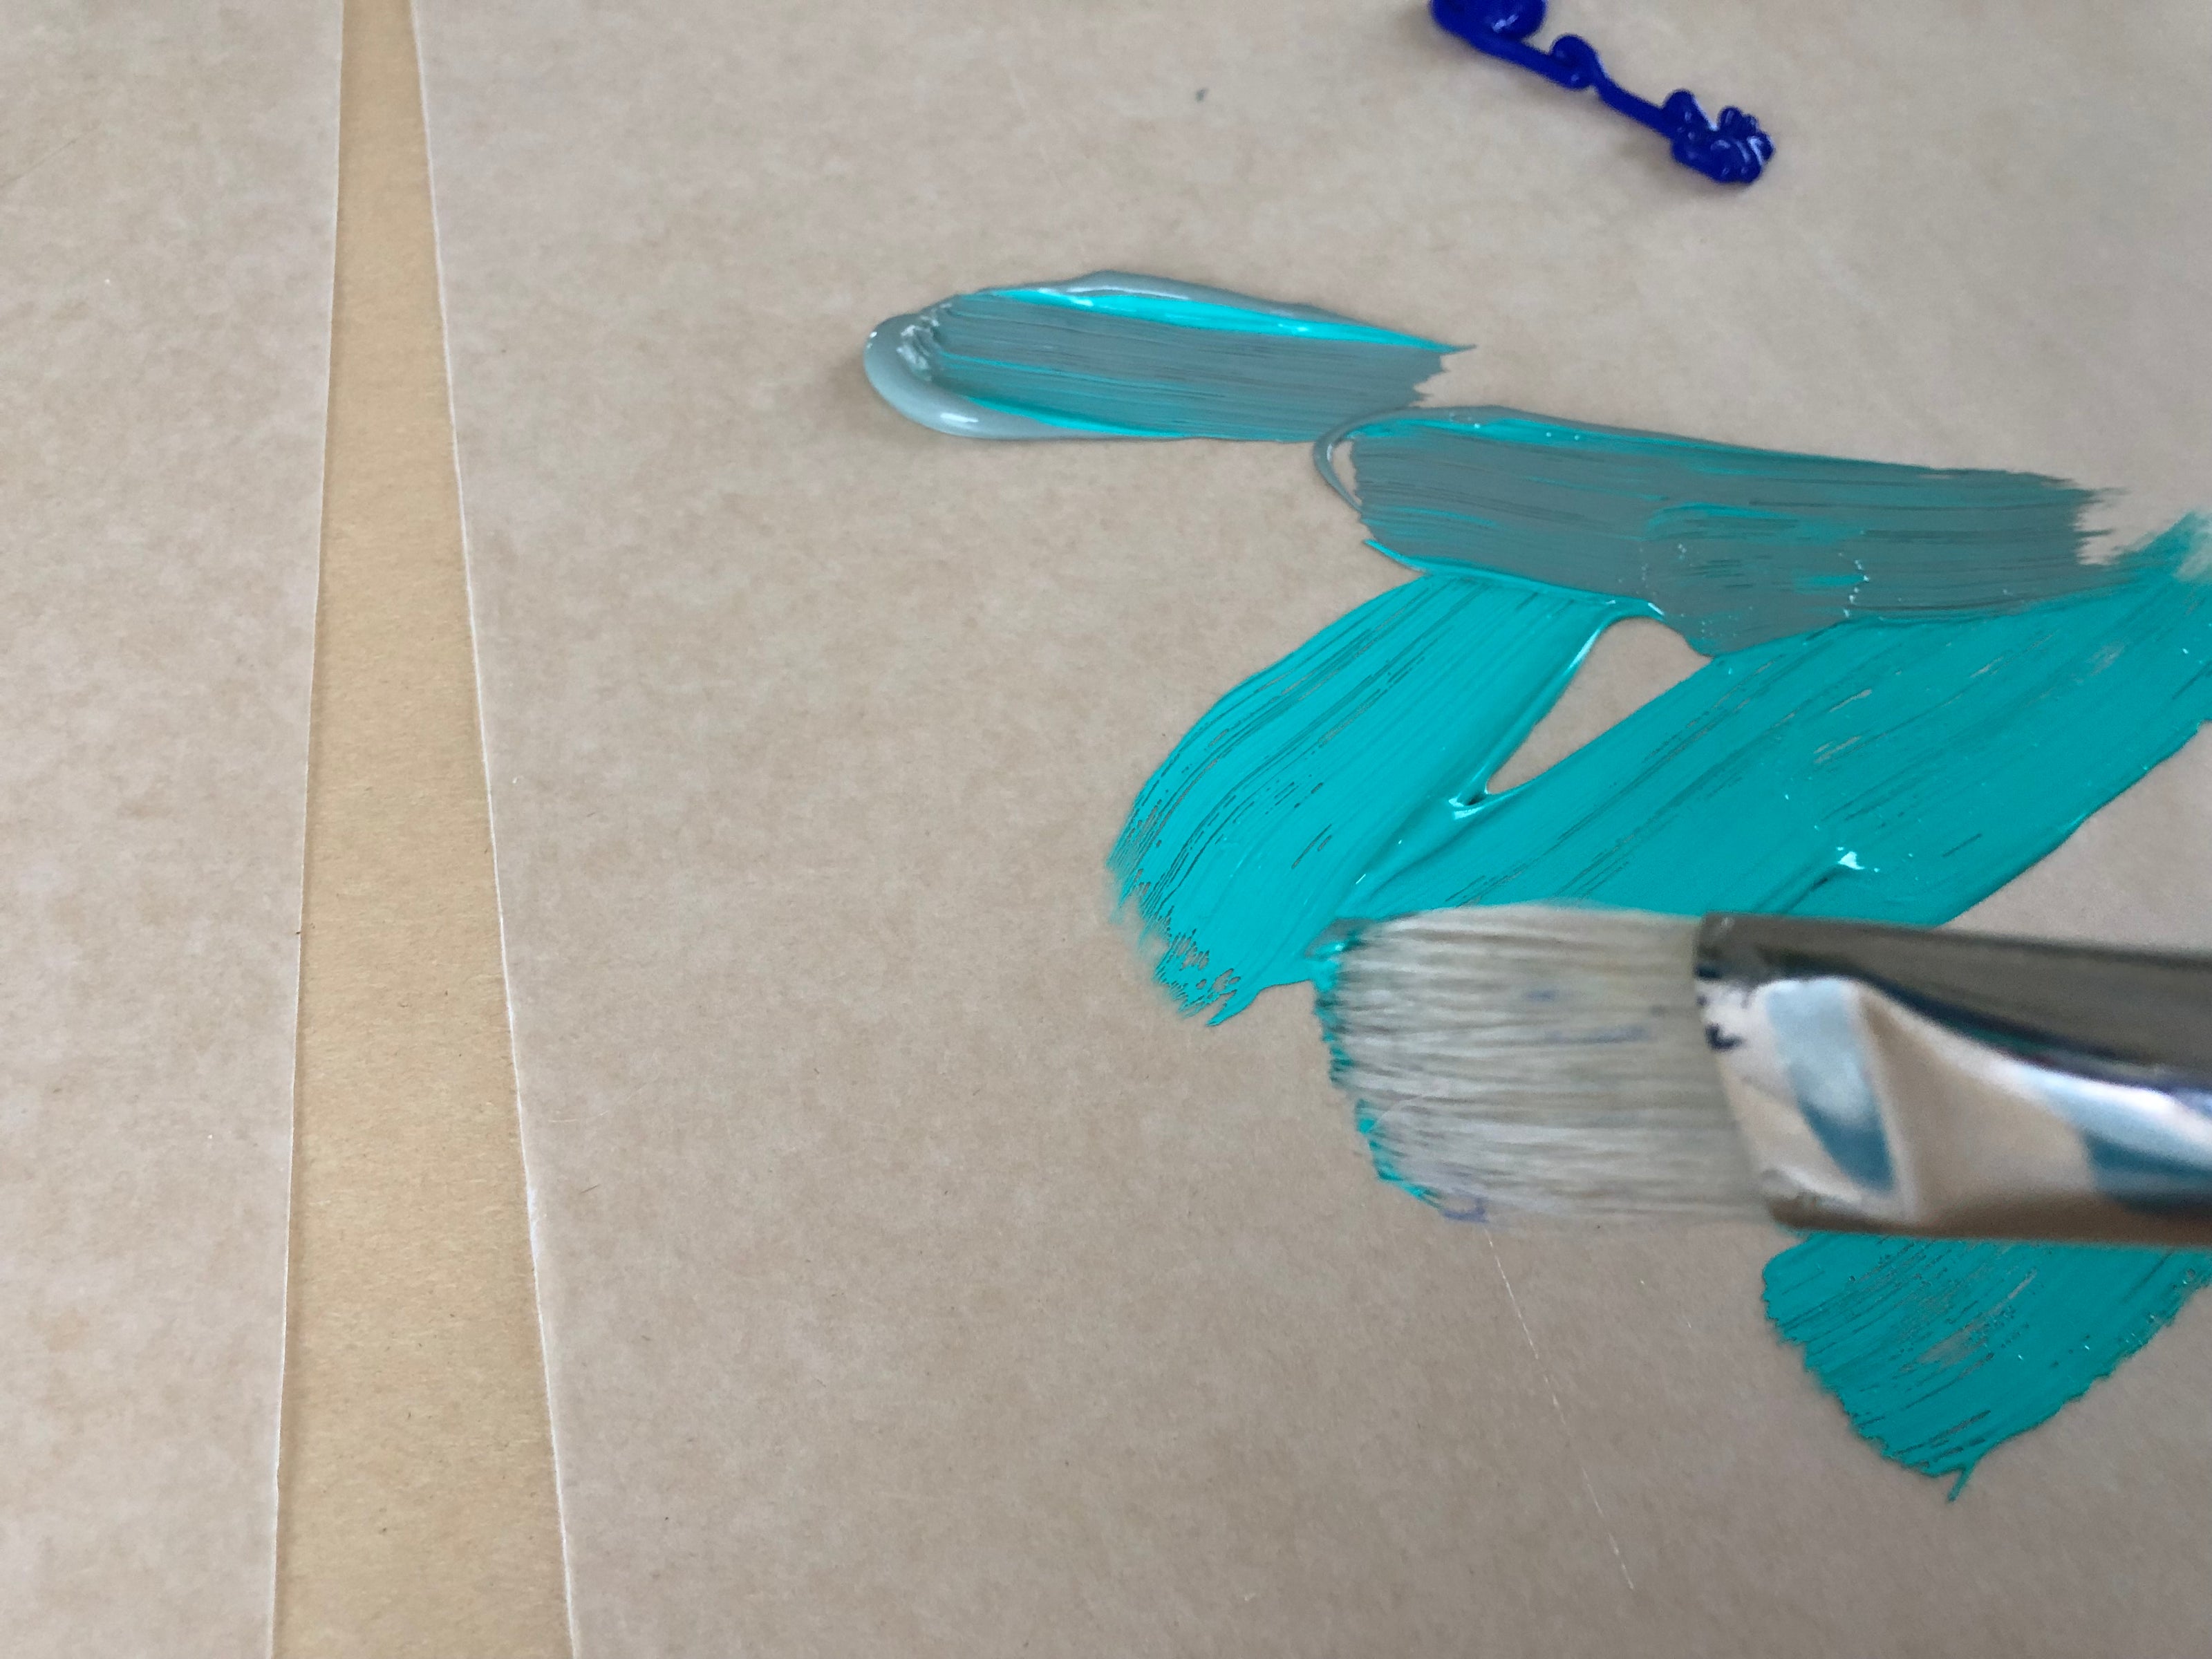
Step 3:
Using a paint brush, move the paint around on the wax paper to create areas of color that touch or slightly blend.
-
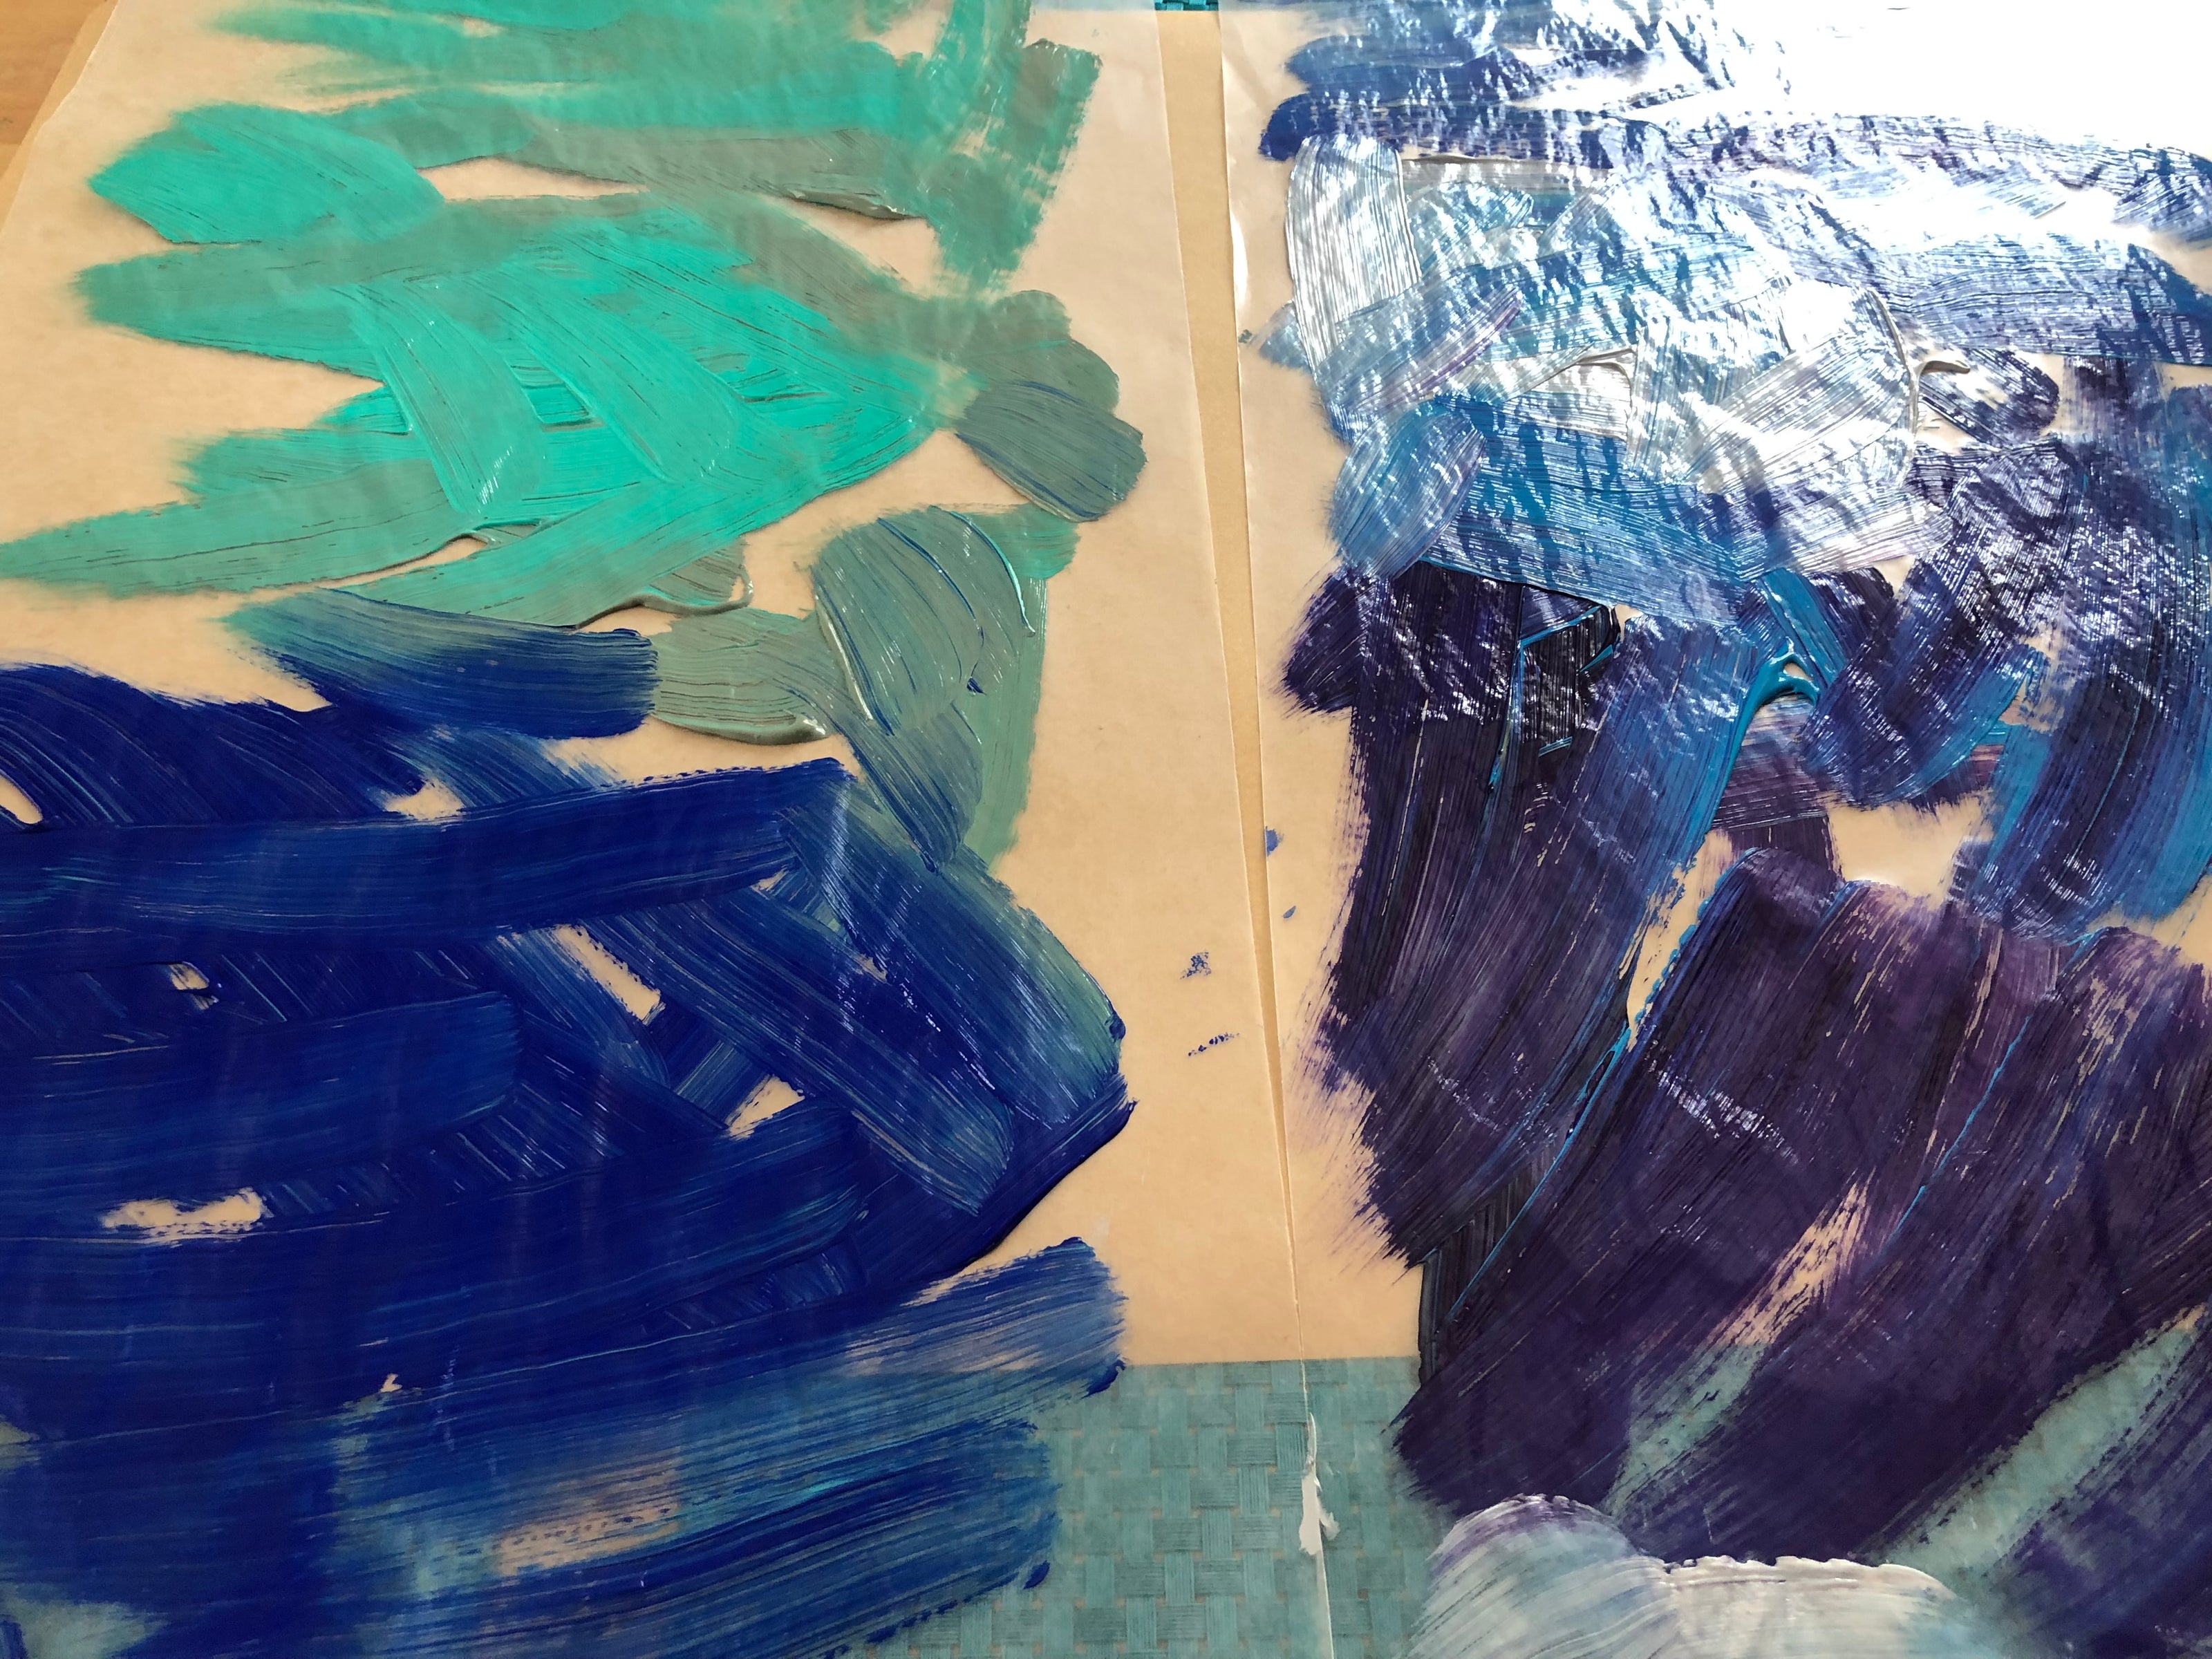
Example of brushed-on acrylic paints.
-
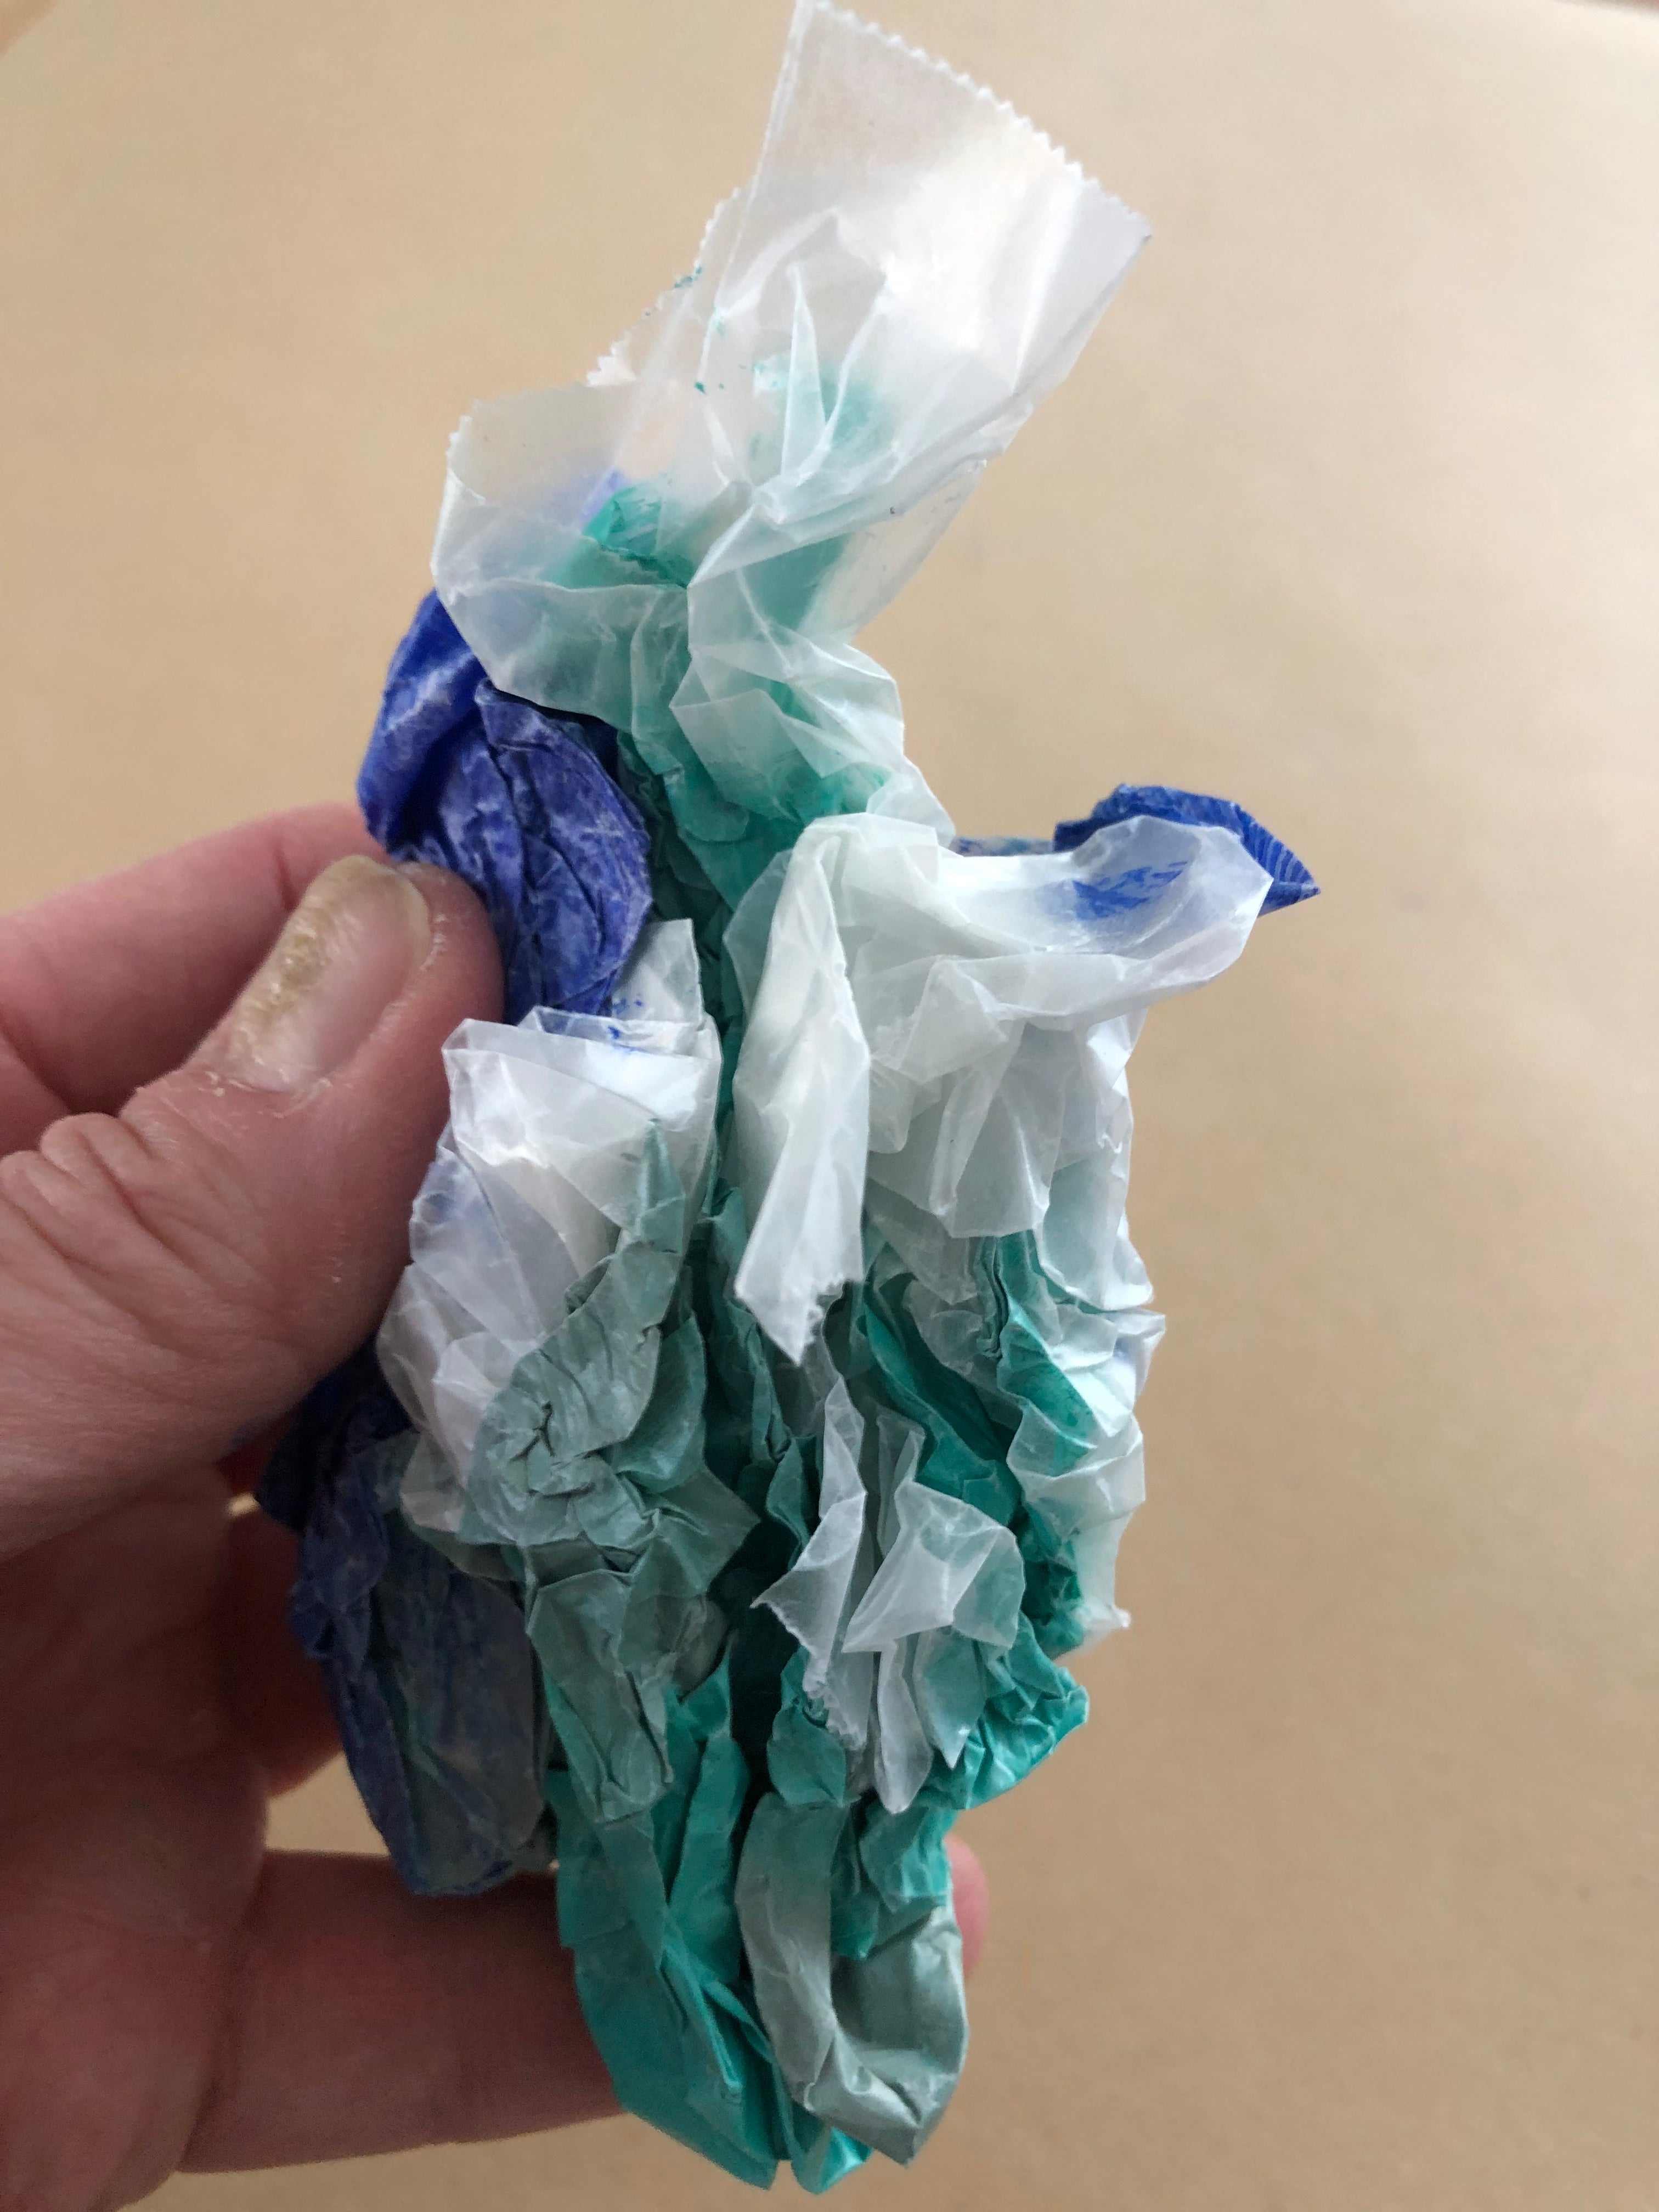
Step 4:
Crumple the wax paper into a tight ball, keeping the back of the wax paper in your hand, so as to not make too much of a mess!
-
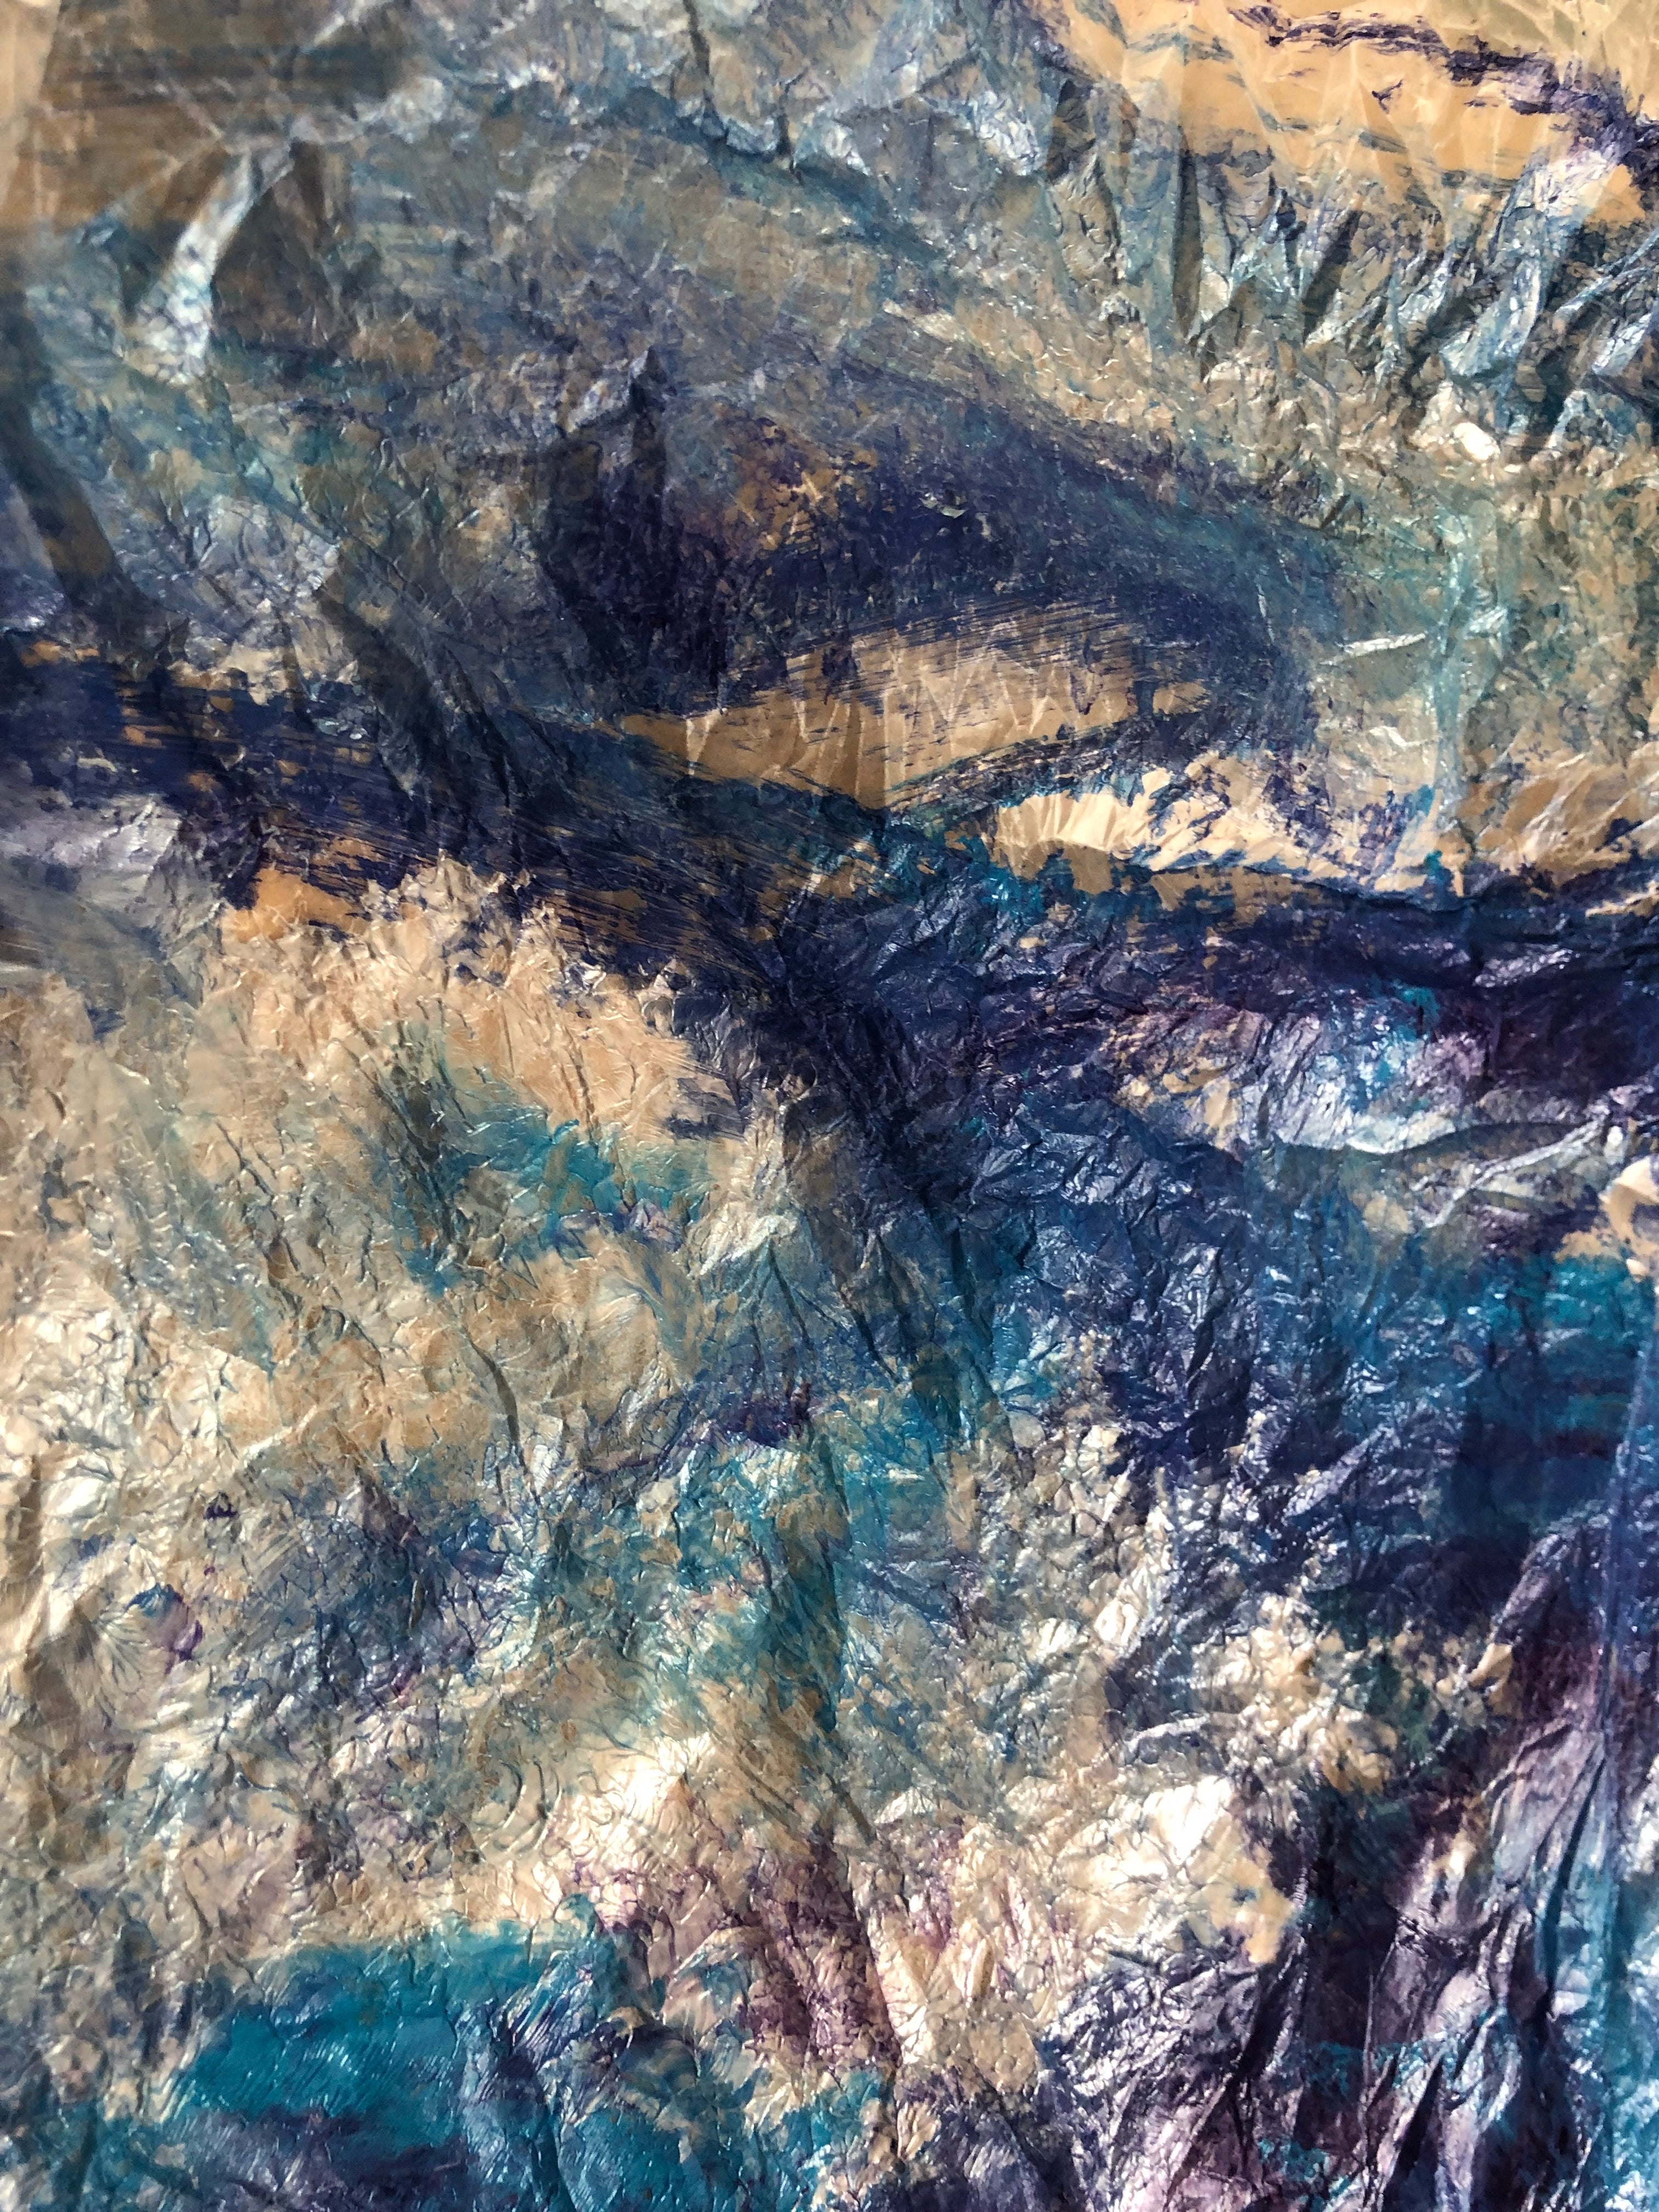
Step 5:
Open up the wax paper and lay out to dry.


-
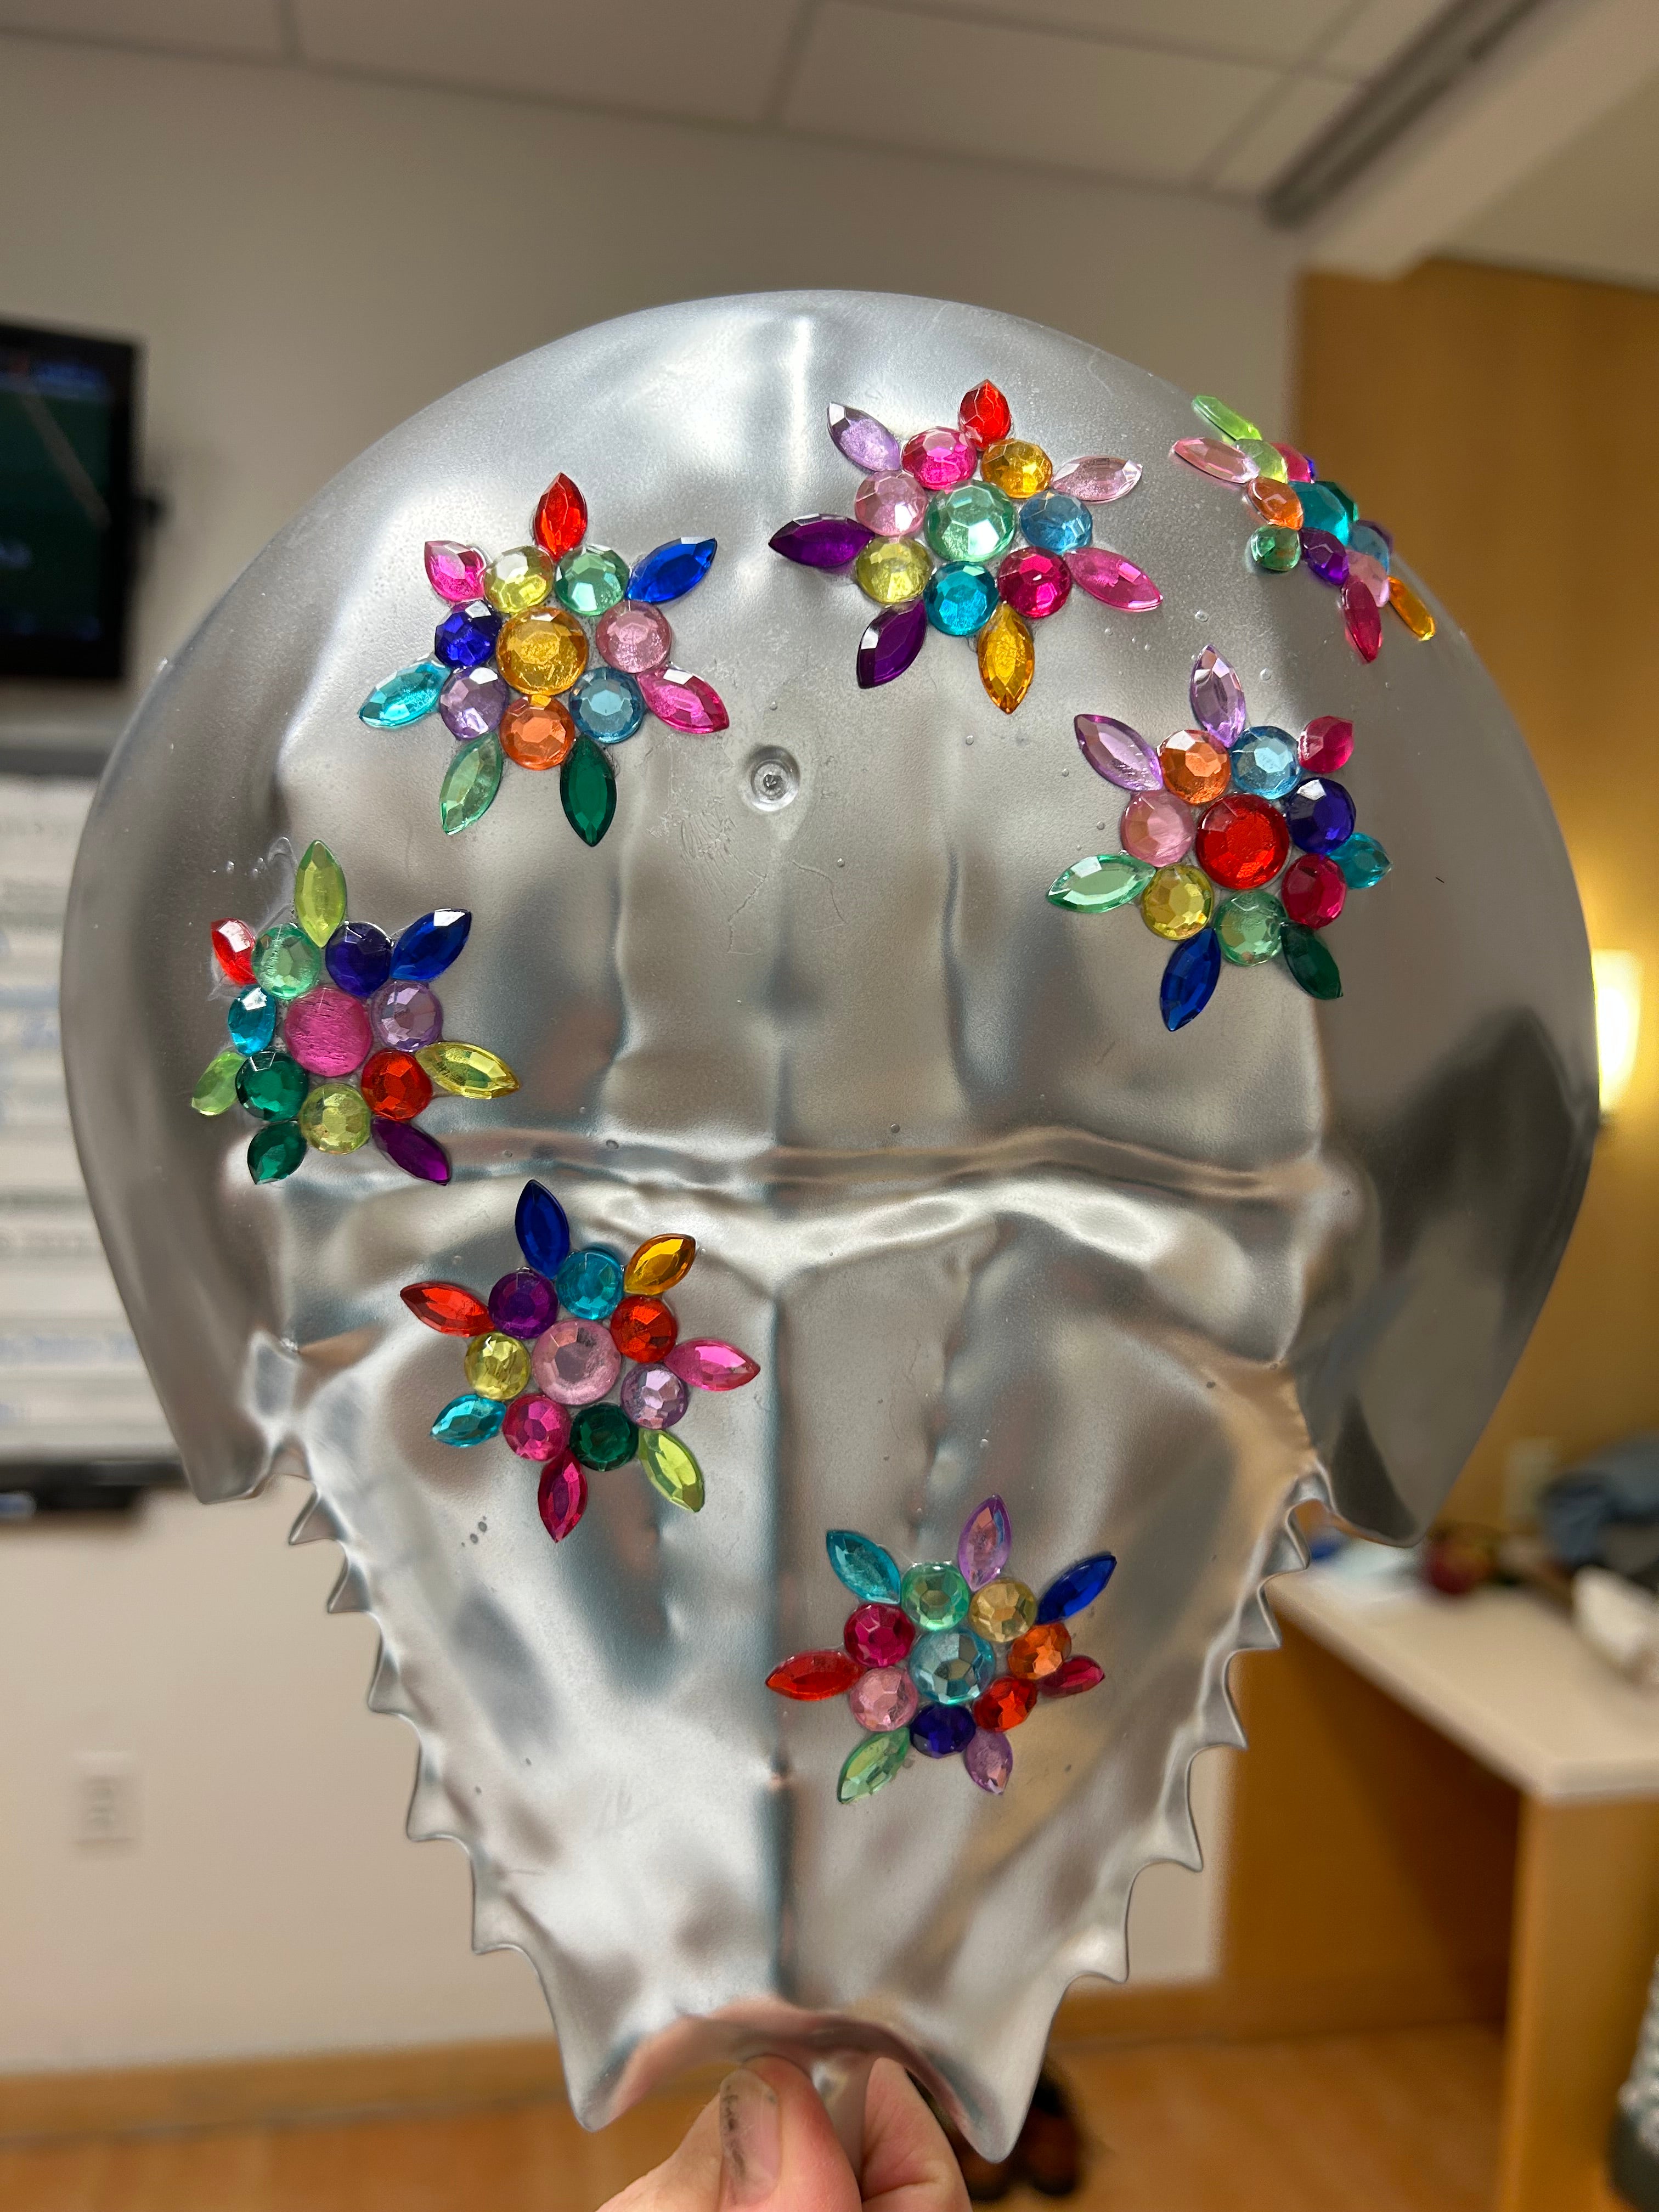
Add sparkle--attach gems with any craft glue, hot glue, or super glue...

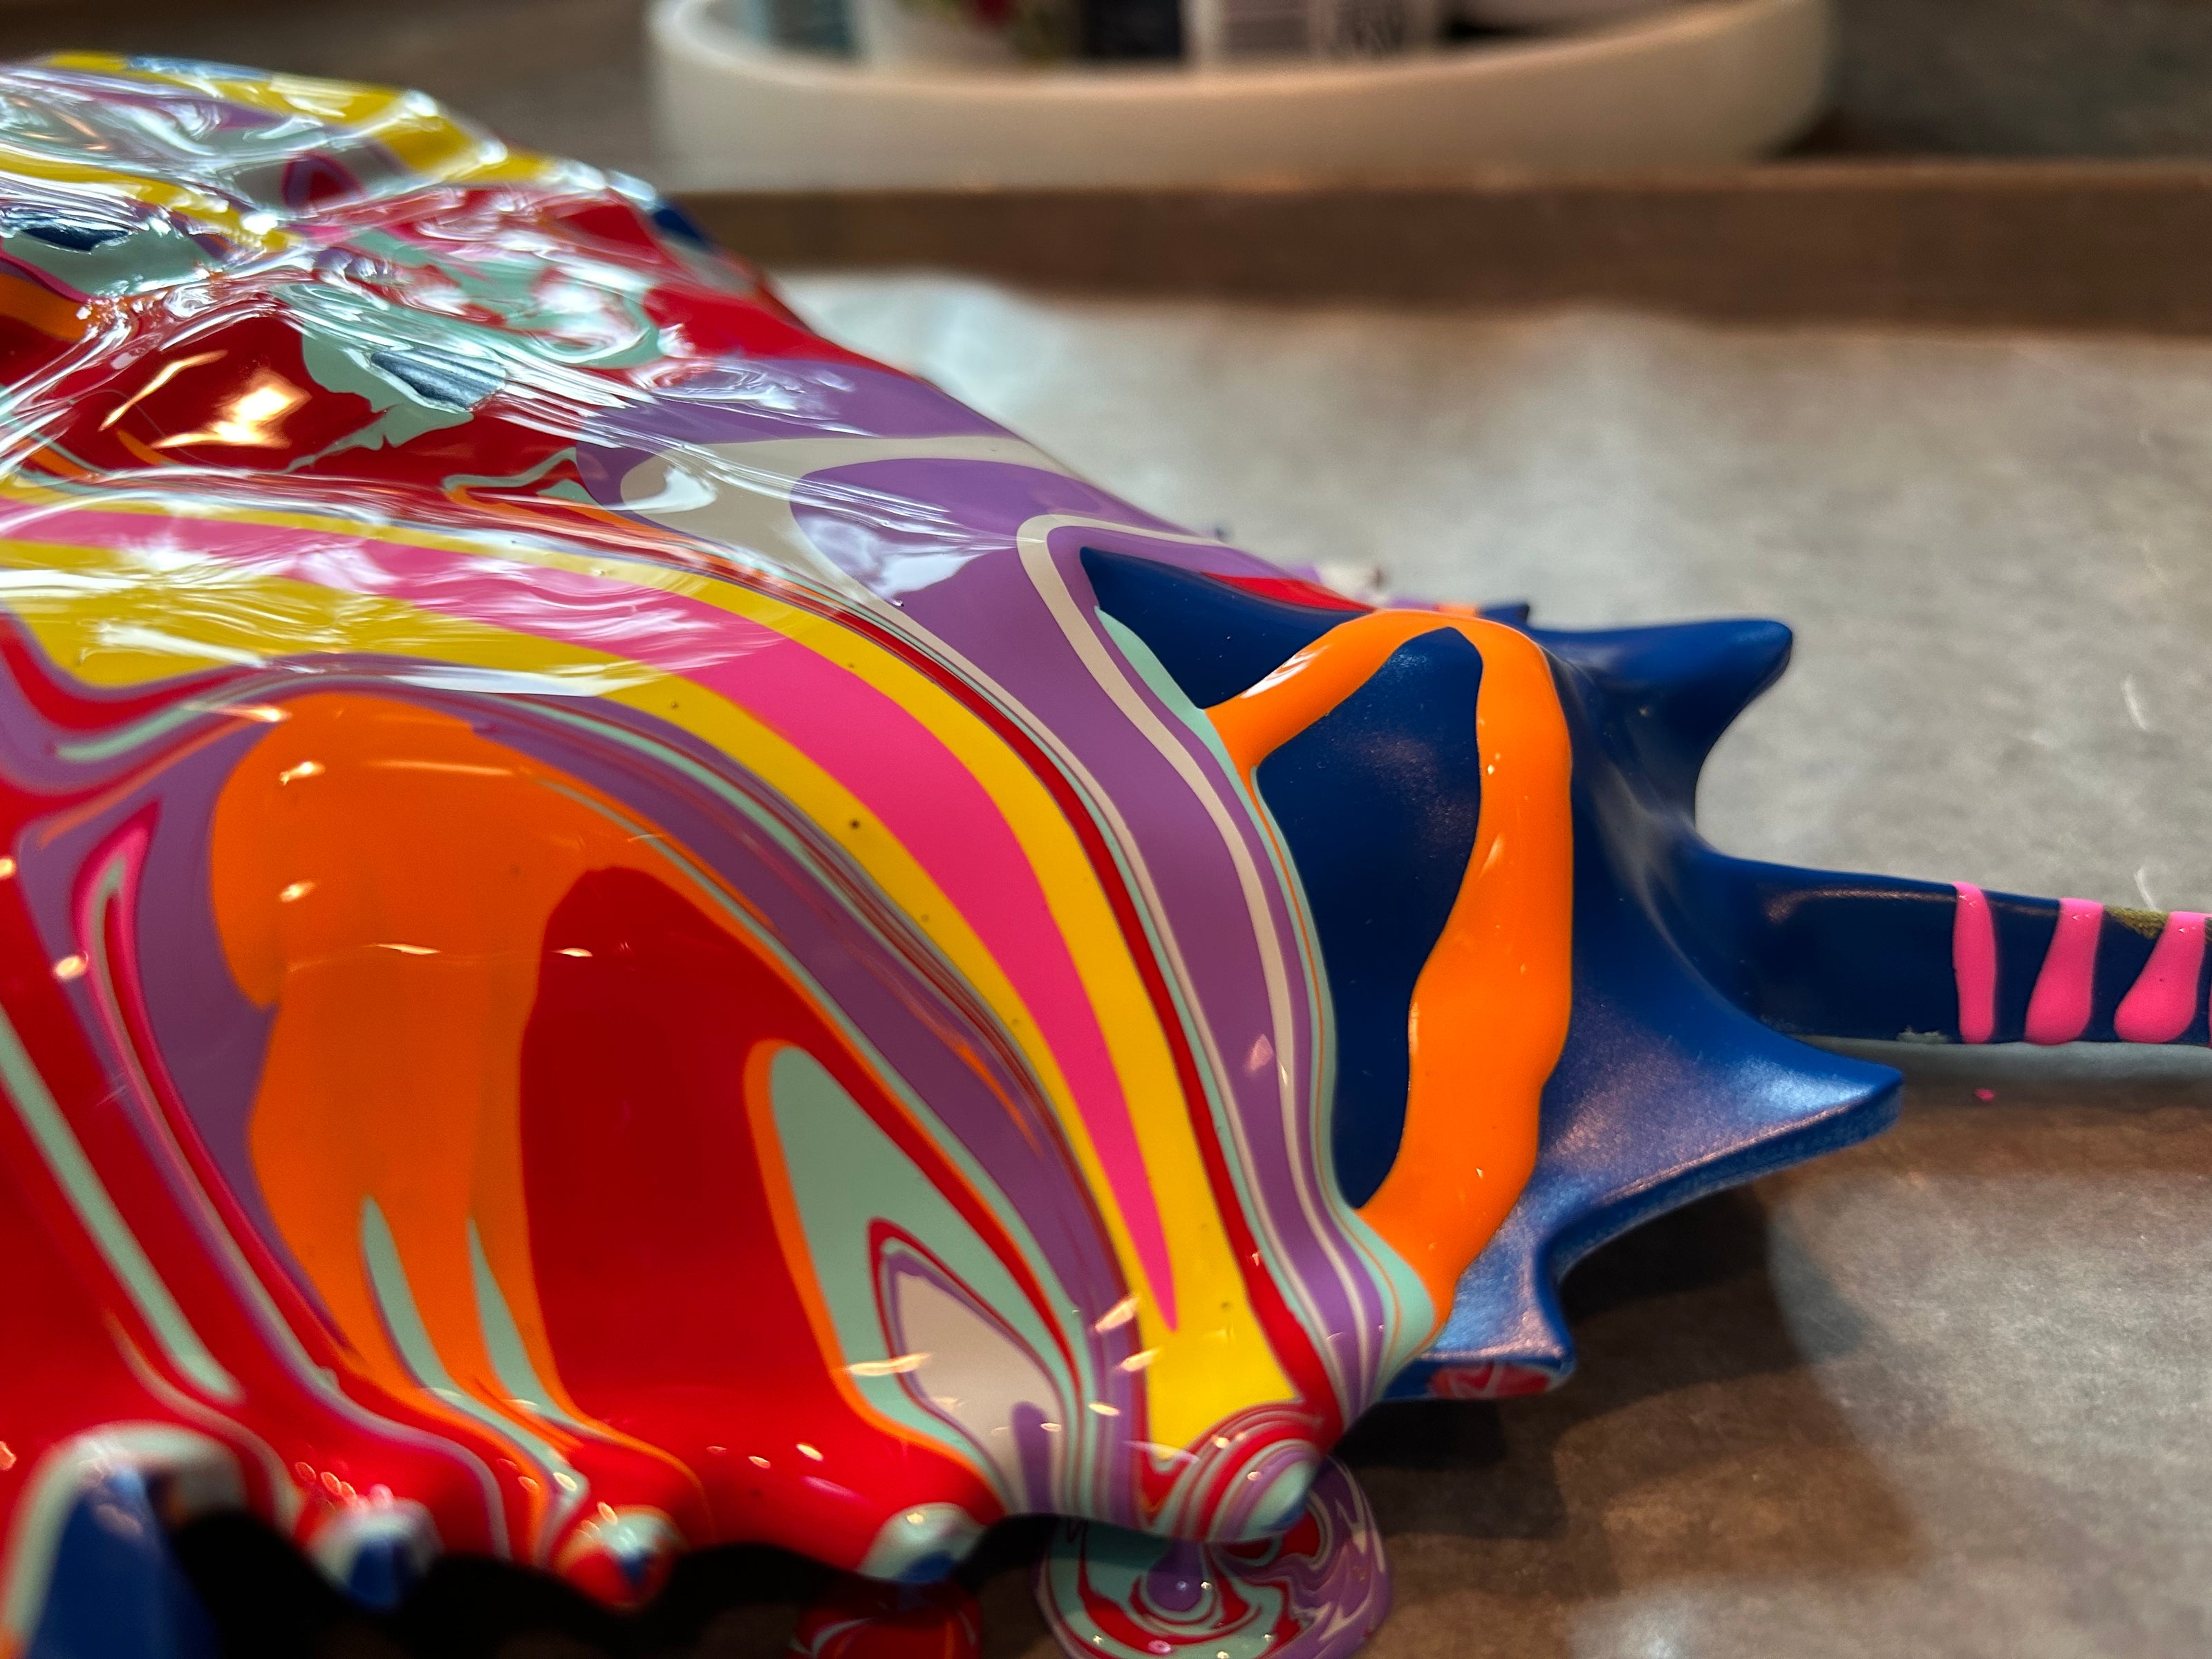
Acrylic pouring...
-
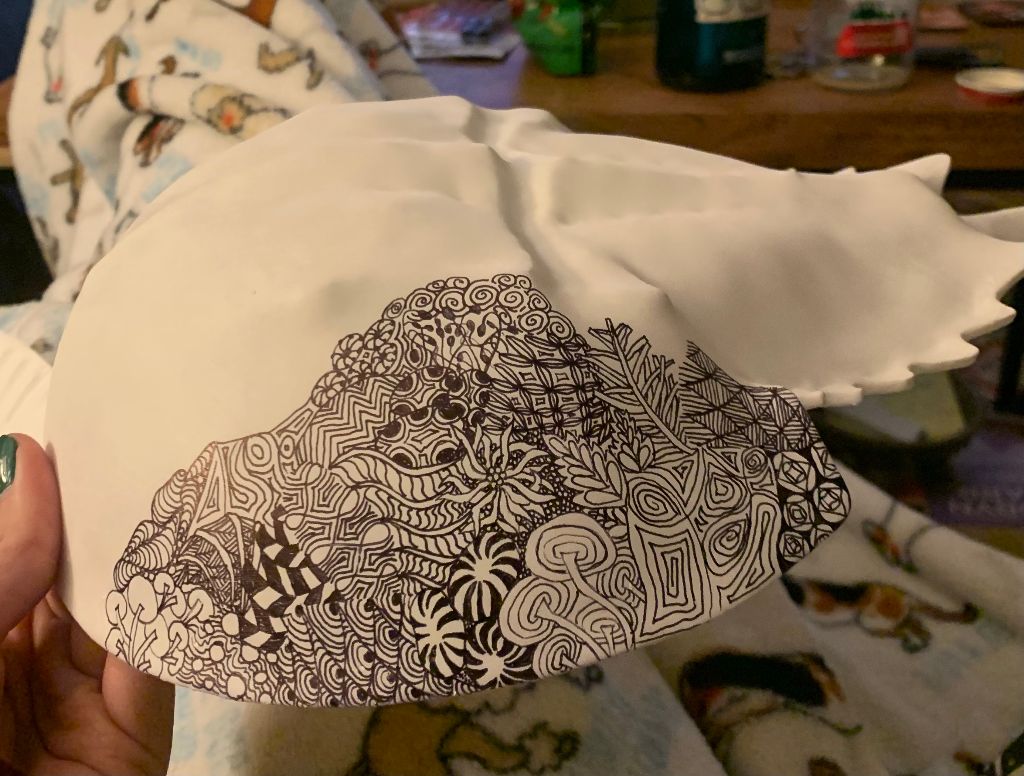
Title: Rainy Day in Eastham; Artist: Liam N.
-
Try an acrylic pour design on a crab.... A quote from a middle-schooler upon finishing her first acrylic poured crab "I'm completely obsessed--so much fun--obsession!!!"
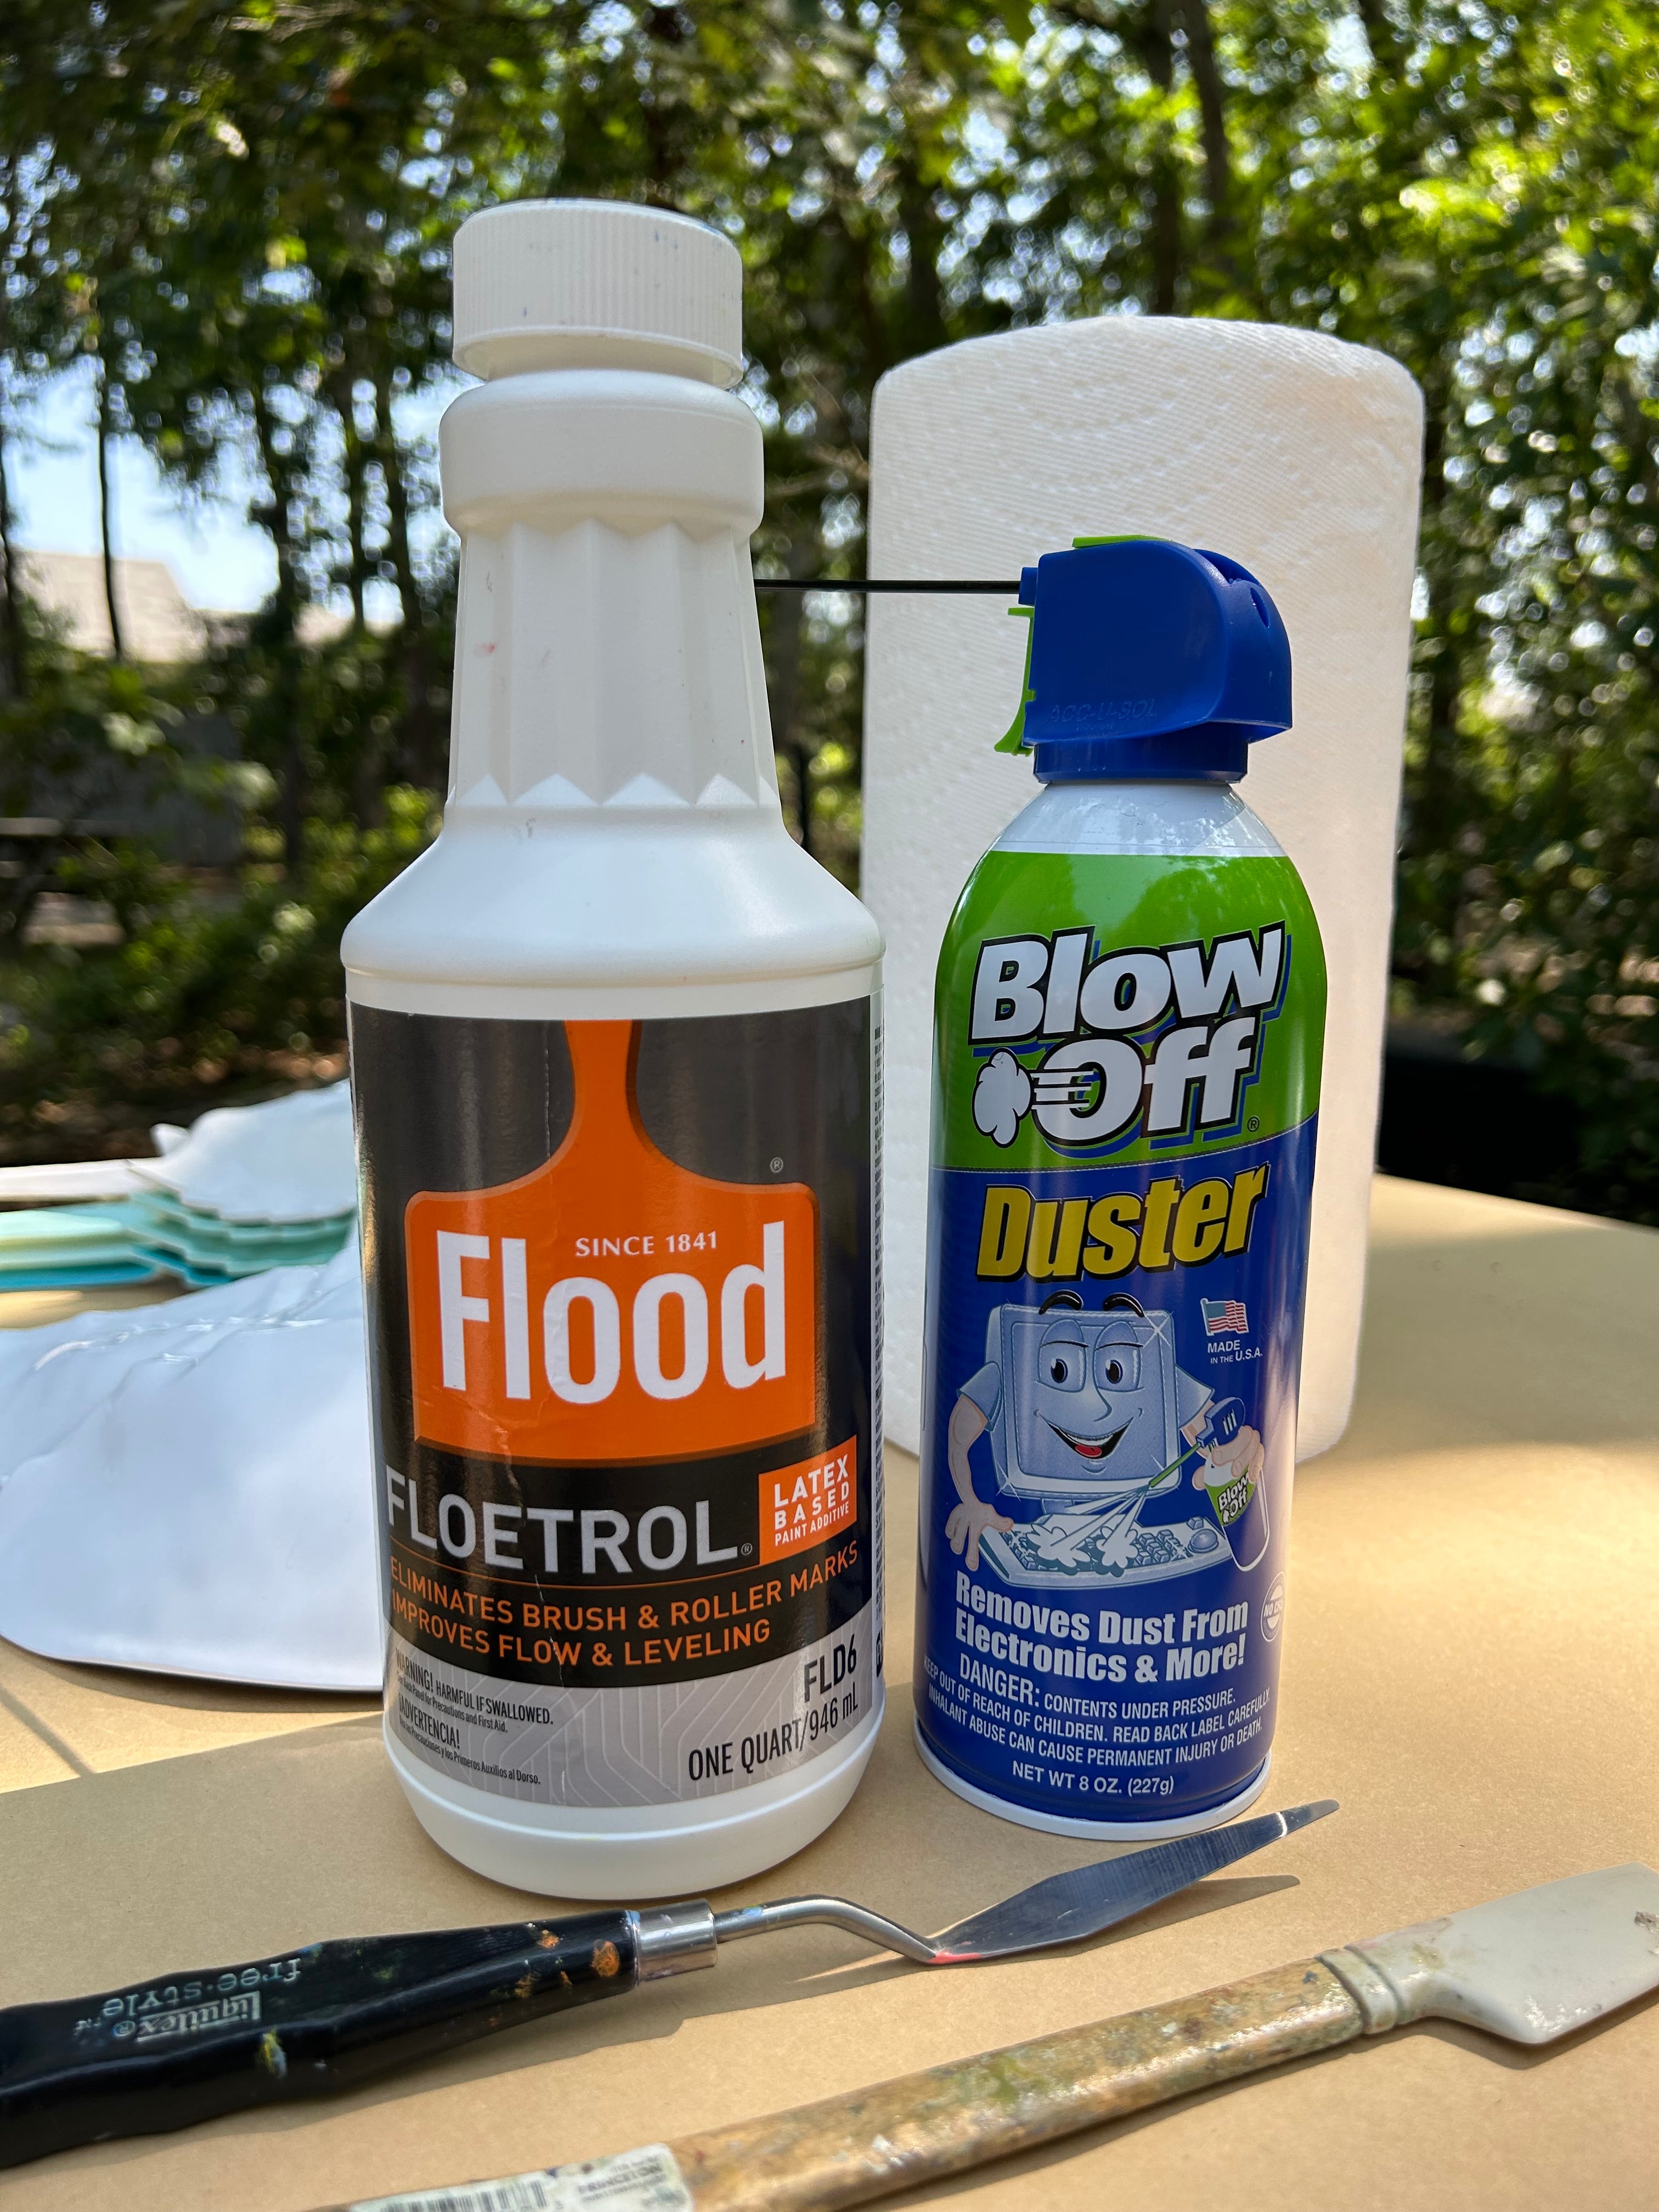
You will need multi-surface acrylic paint, Floetrol (buy at any hardware store), cups to mix paints, compressed air (optional), stirrers, lots of newspaper to protect your surface, and gloves help keep the paint from spreading all over your hands....
-

Get ready. Prepare an area by covering surfaces and put on gloves.
With a stirrer mix 50% Floetrol and 50% acrylic paint in cups. Single colors or try two colors in a cup to add a surprise to the pour....
-
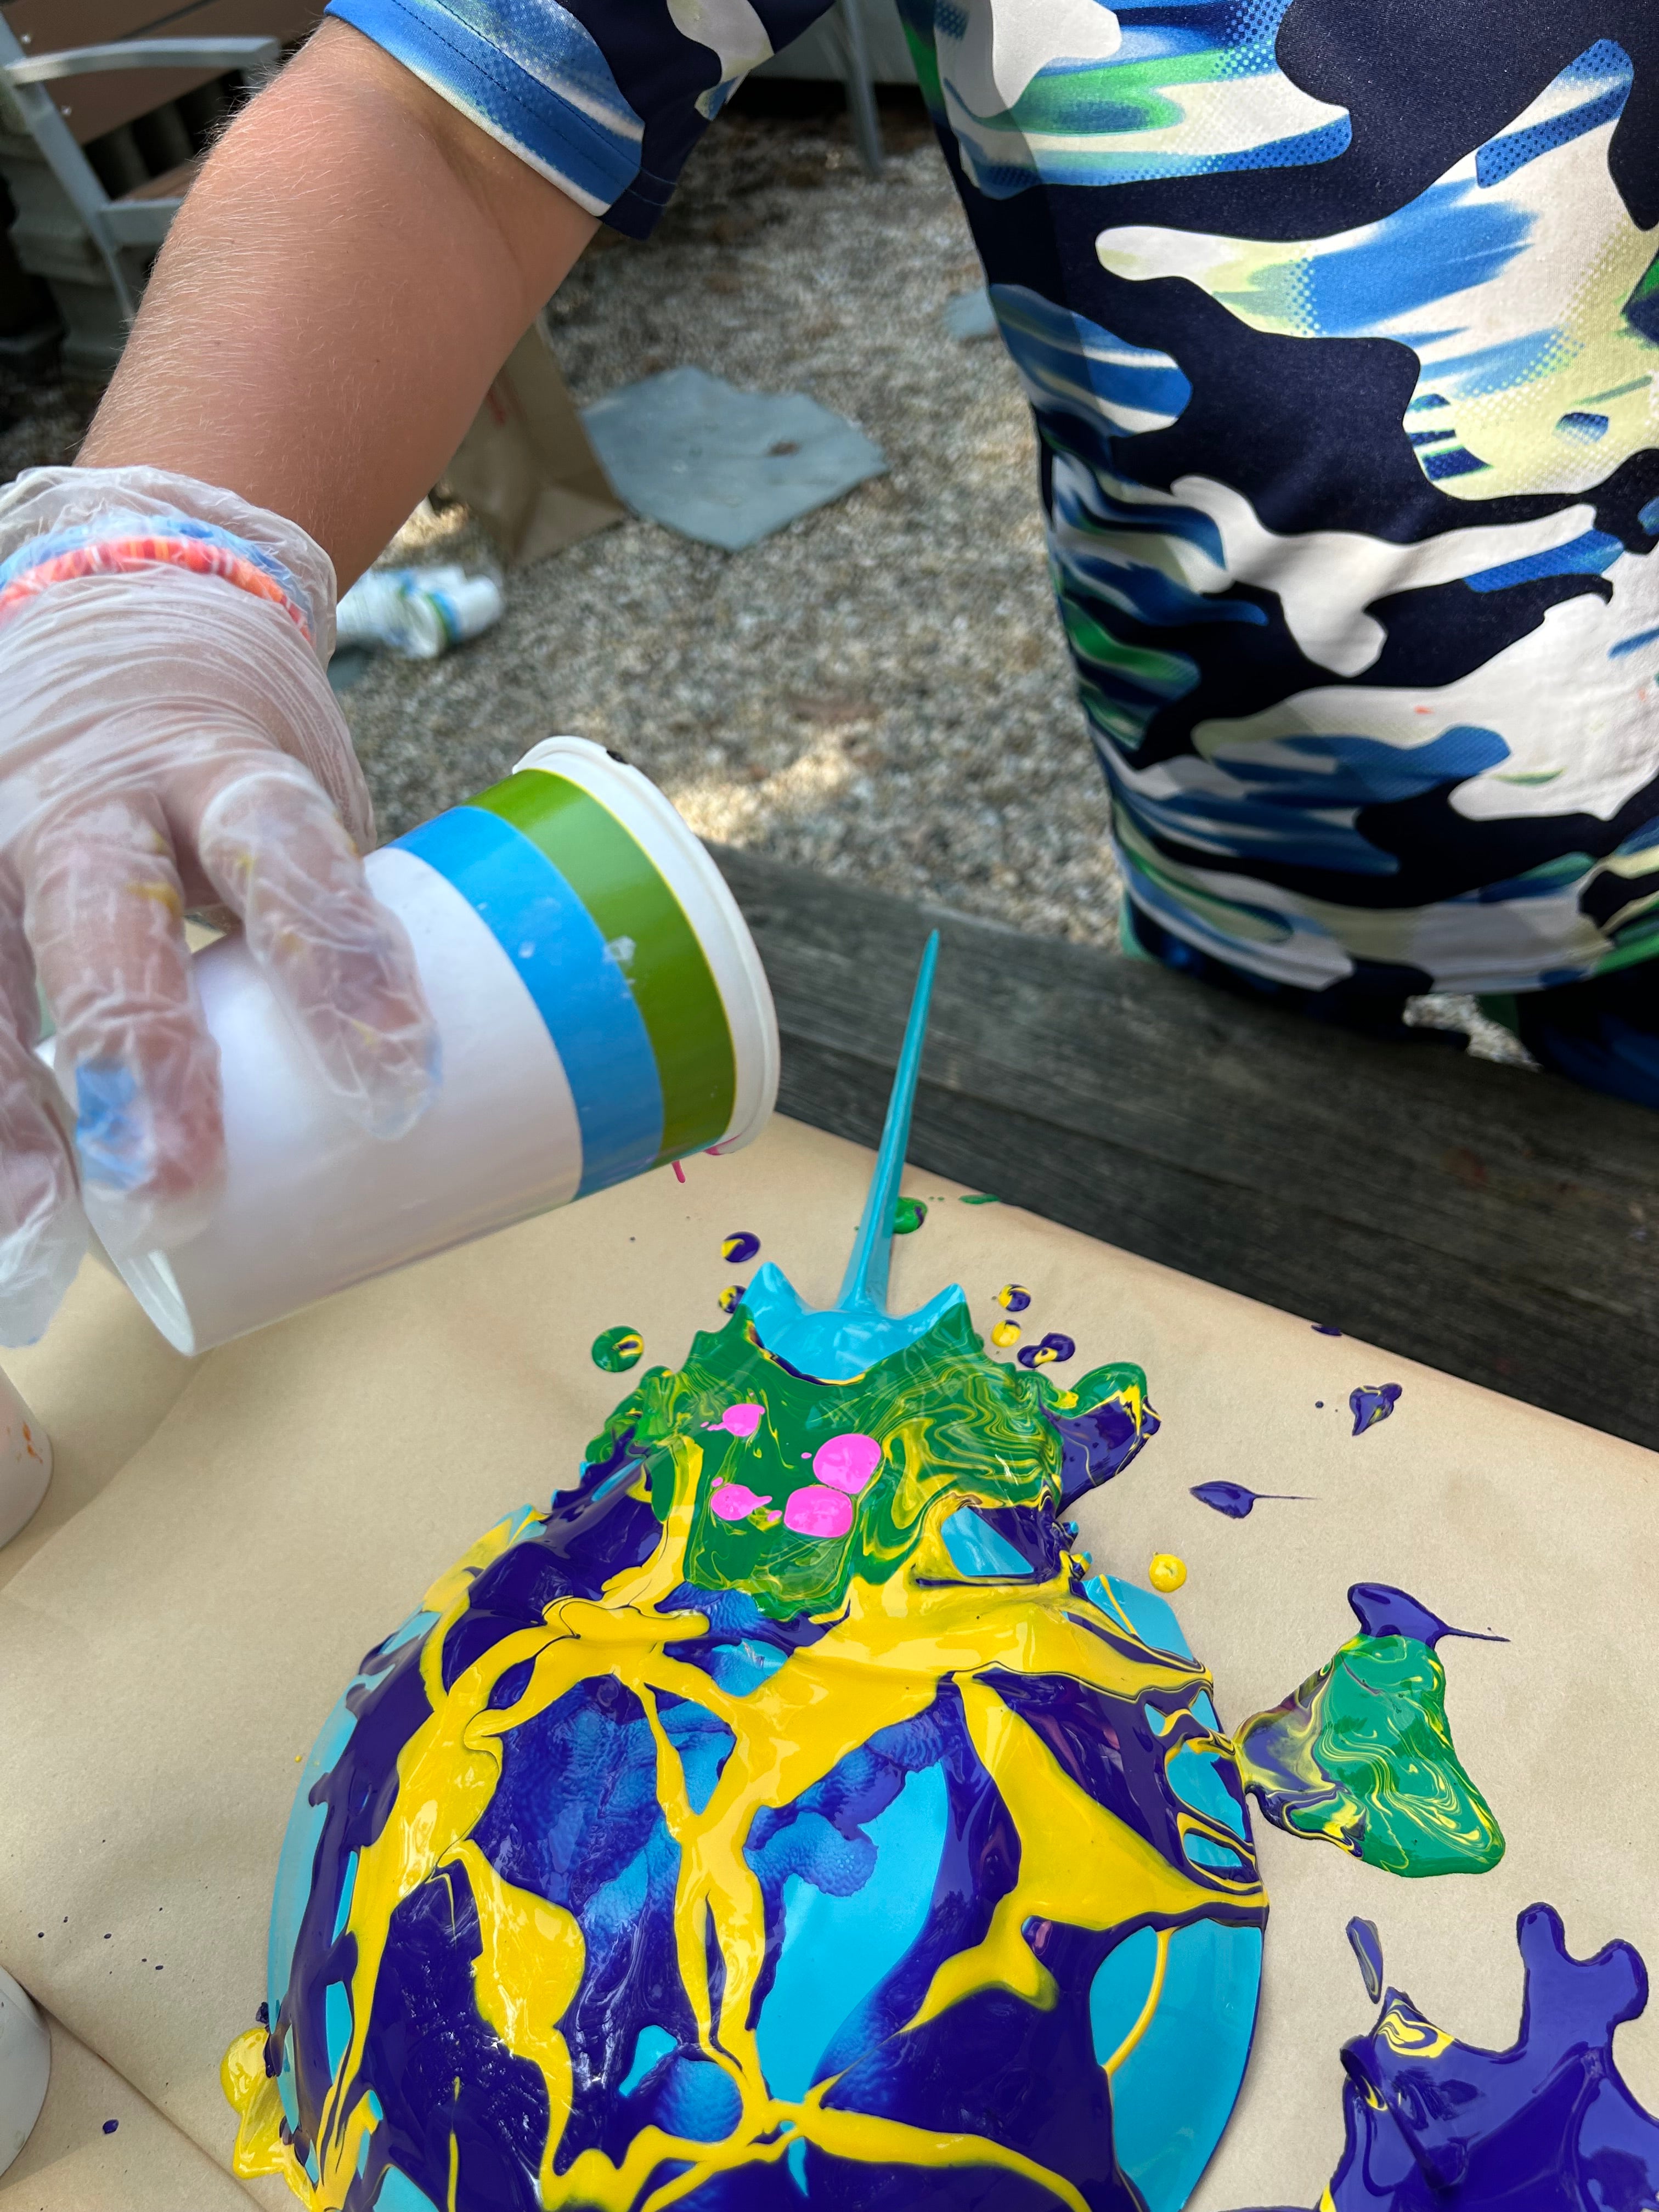
Start pouring!
Move the crab by holding the tail to let the paint flow in whichever direction you like. Layer paint pours. You can try using compressed air to move the paint more forcefully once it is on the crab. A blow dryer also works to spread paint and it creates a 'crackle-like' finish.


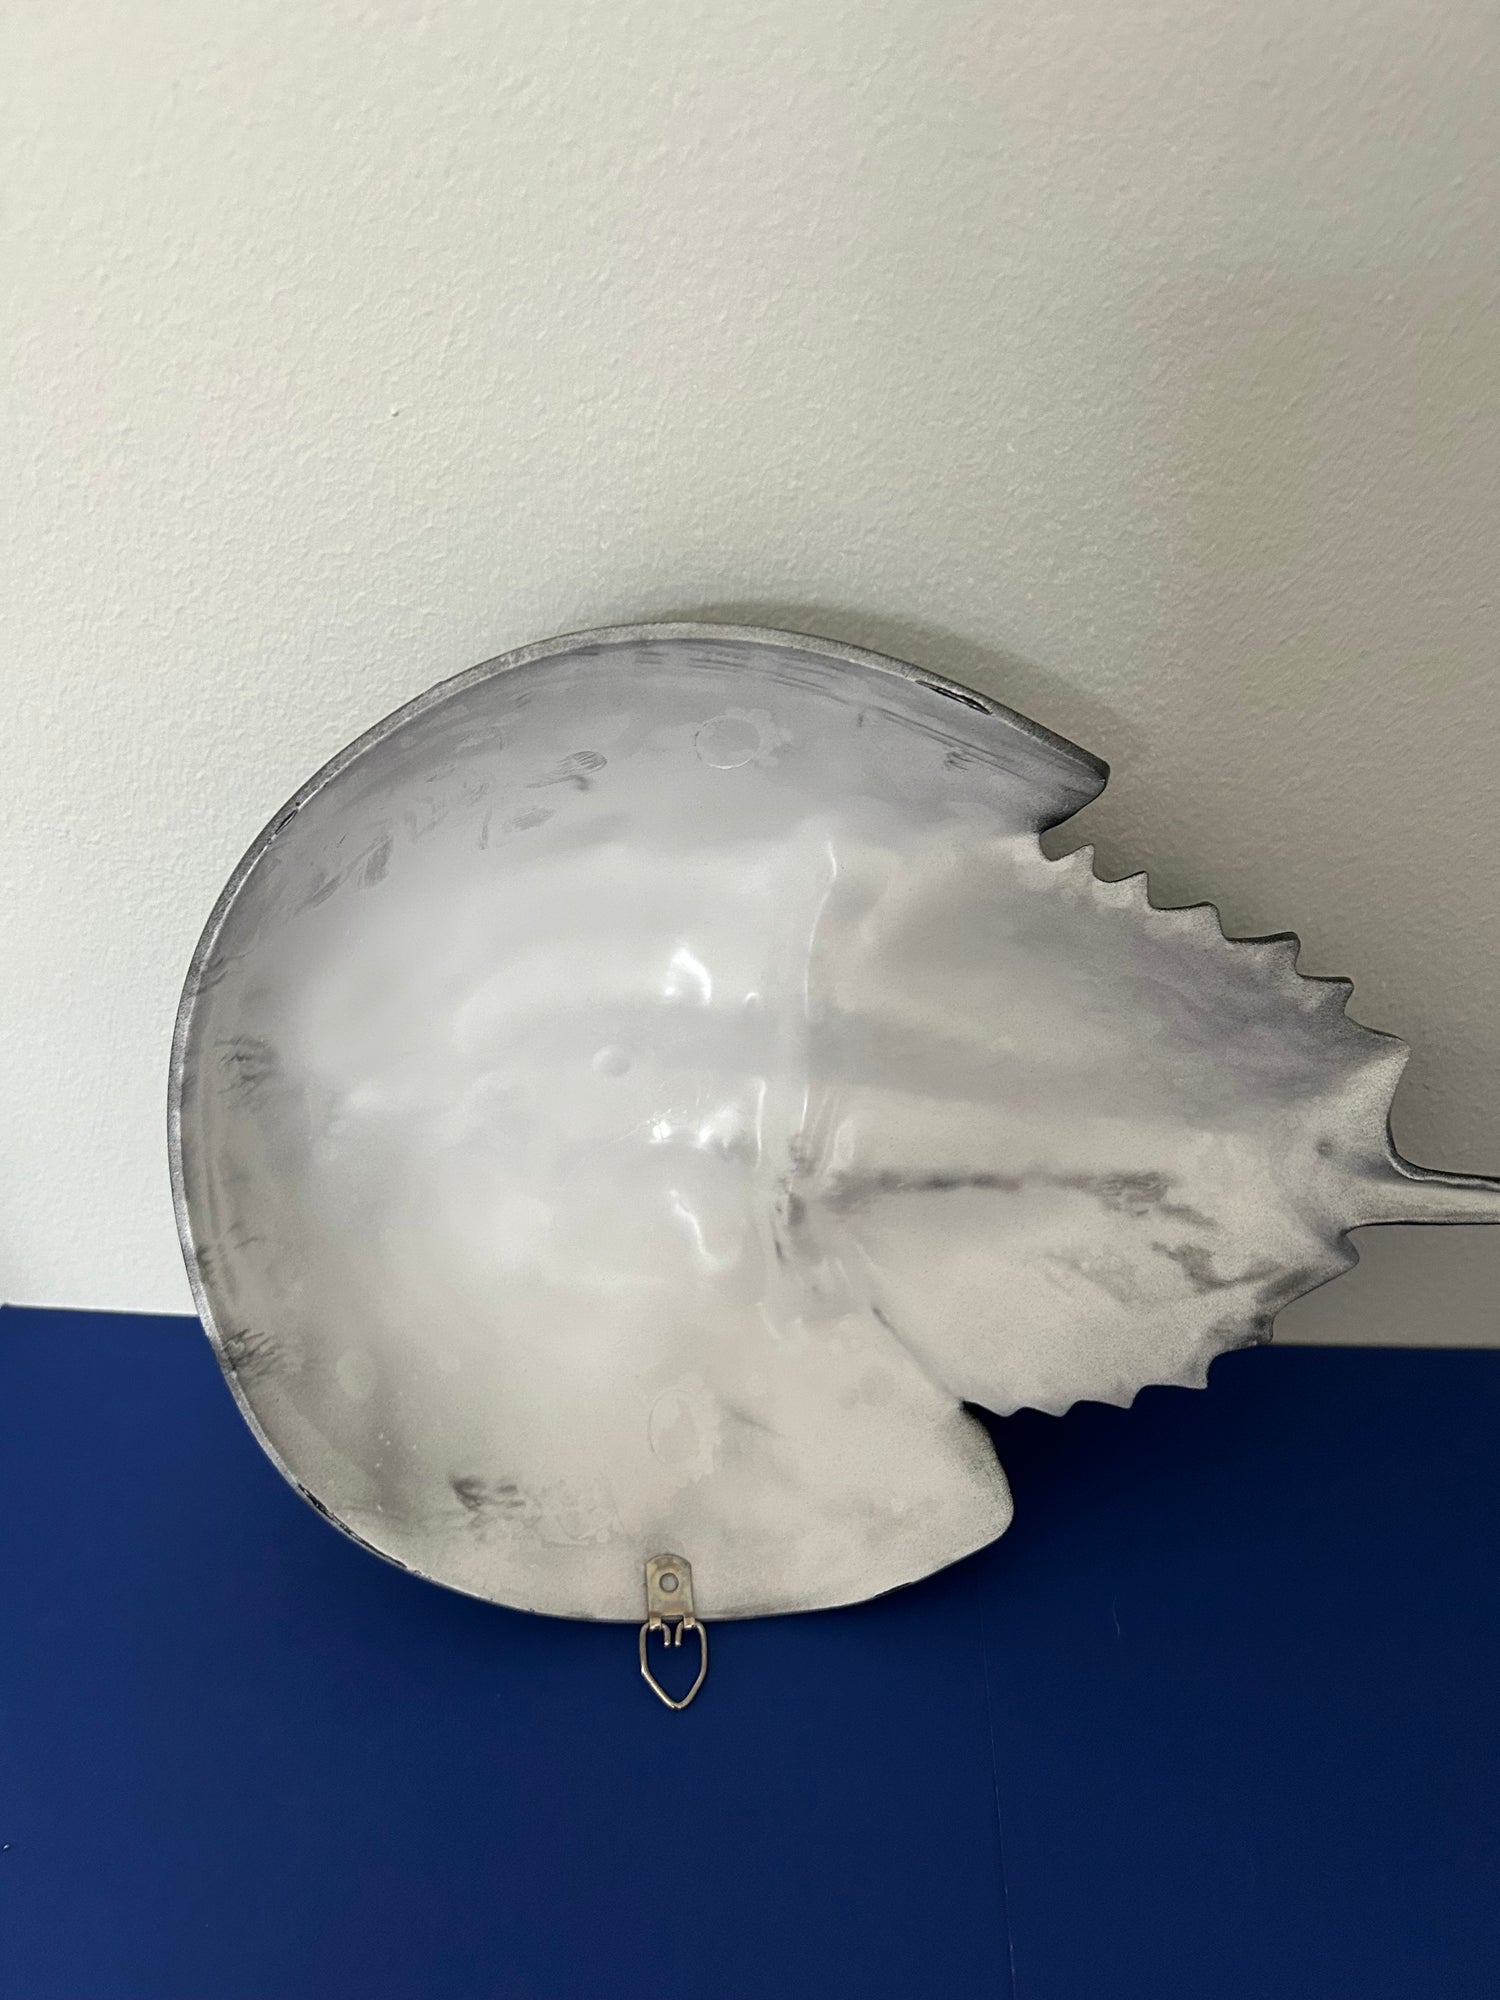
Tip: Hanging your model...
The D-Ring hooks used for hanging mirrors are a great way to hang your completed model. You will need one D-Ring hanger and a small dab of Gorilla Glue (fast) or craft glue.
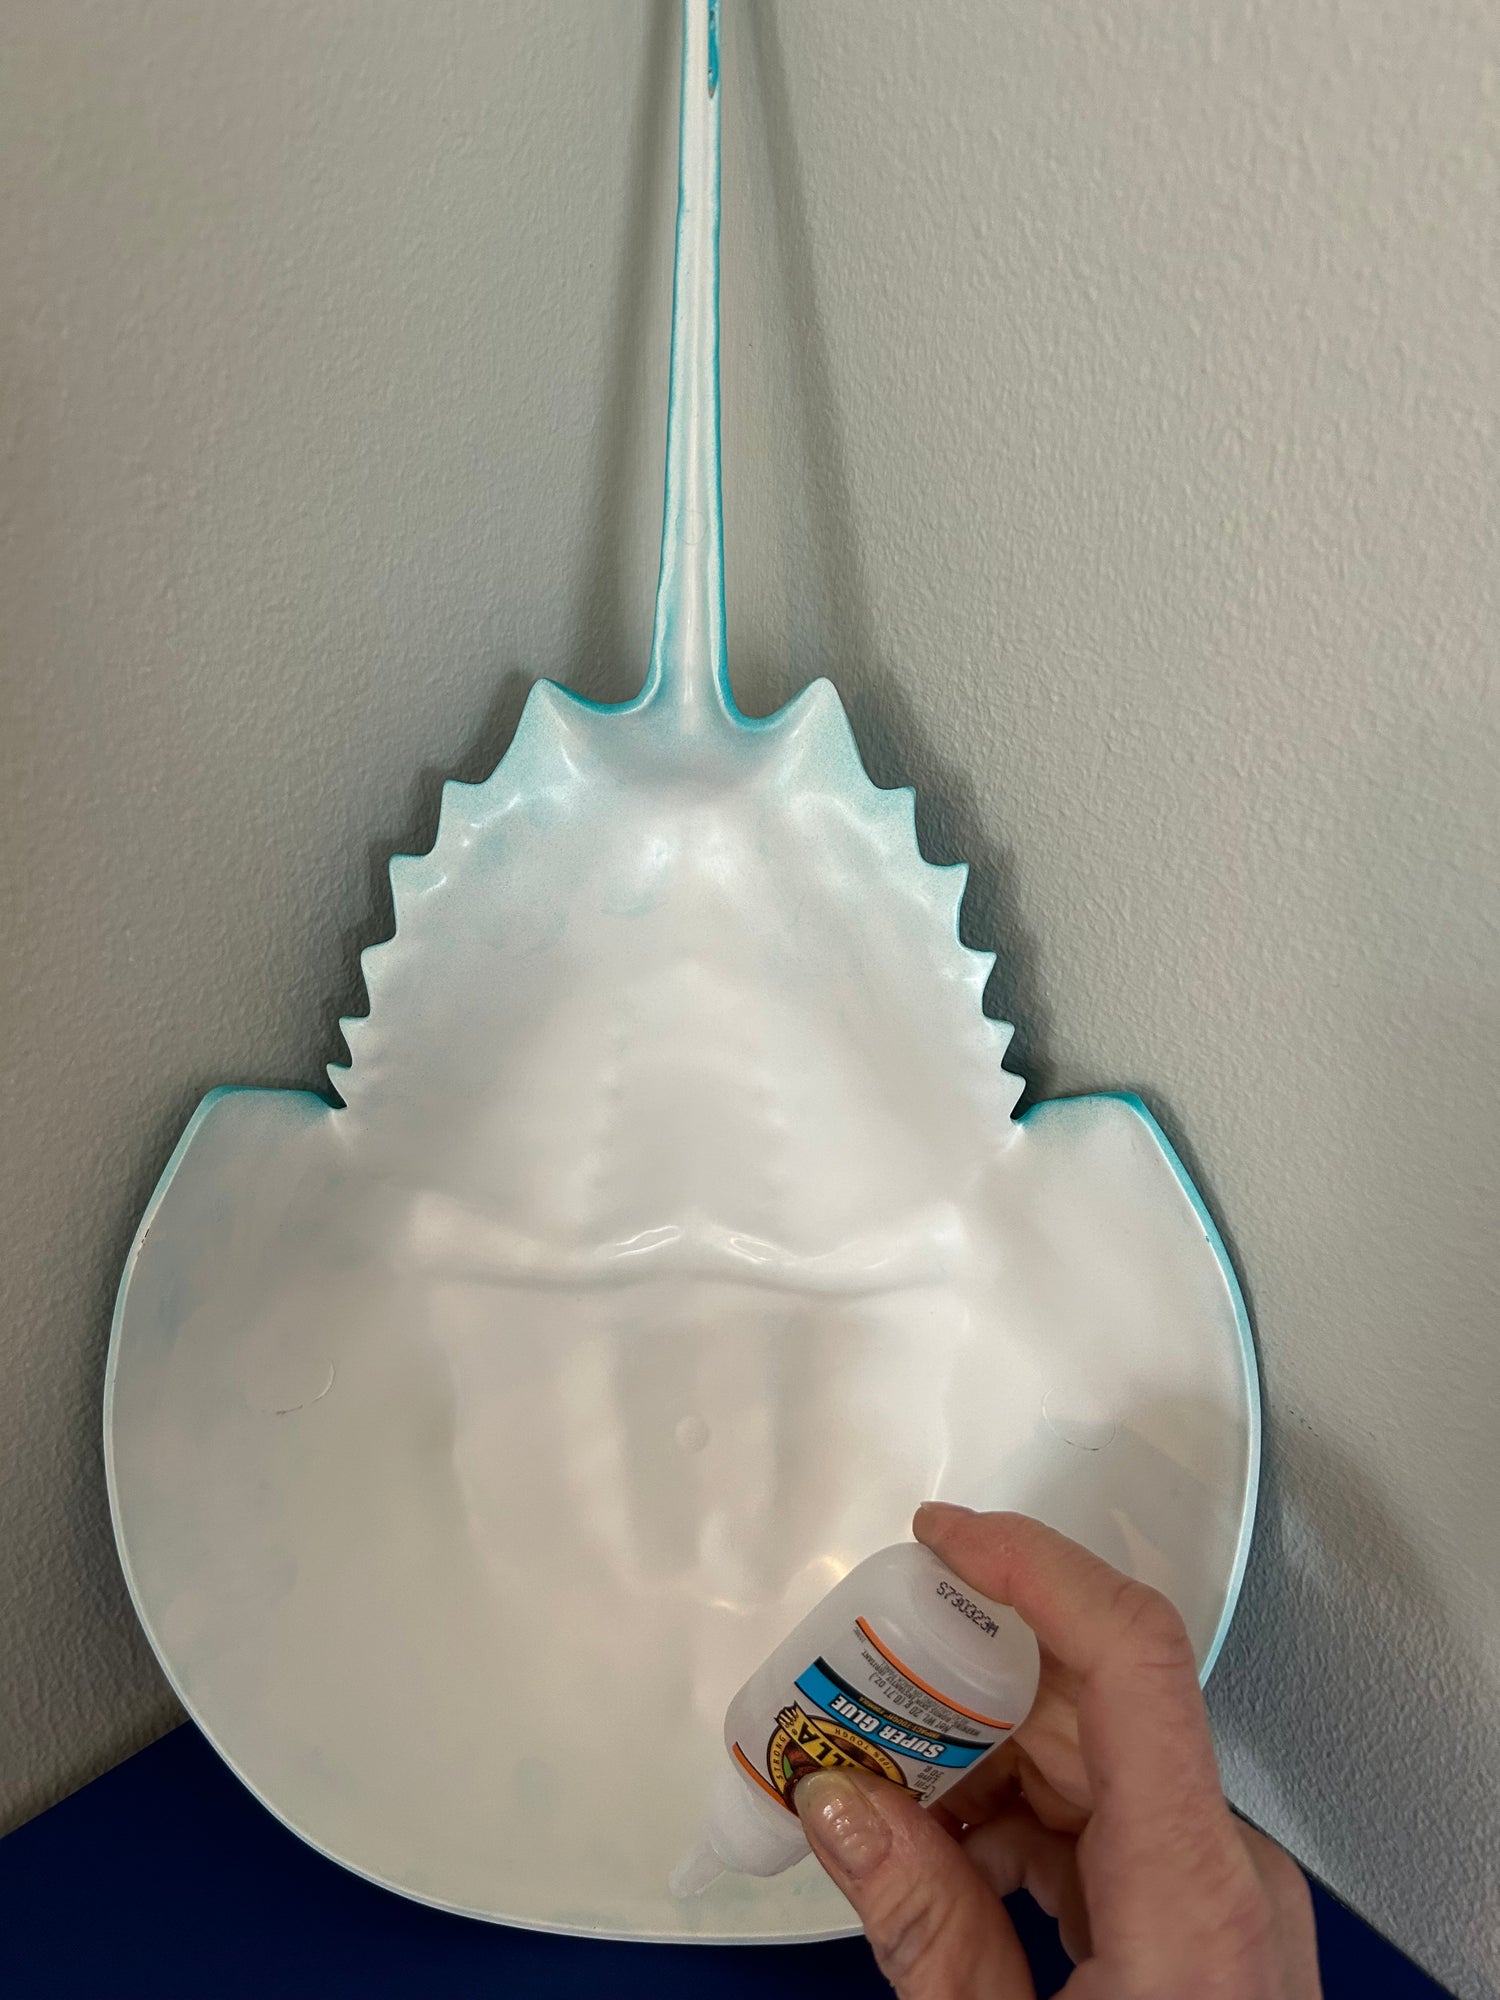
Step 1
Lean your model in a corner or against a wall. Place a piece of scrap paper or wax paper under the model. Put a dab of Gorilla Glue or craft glue on the model in line with the "spike" of the crab.
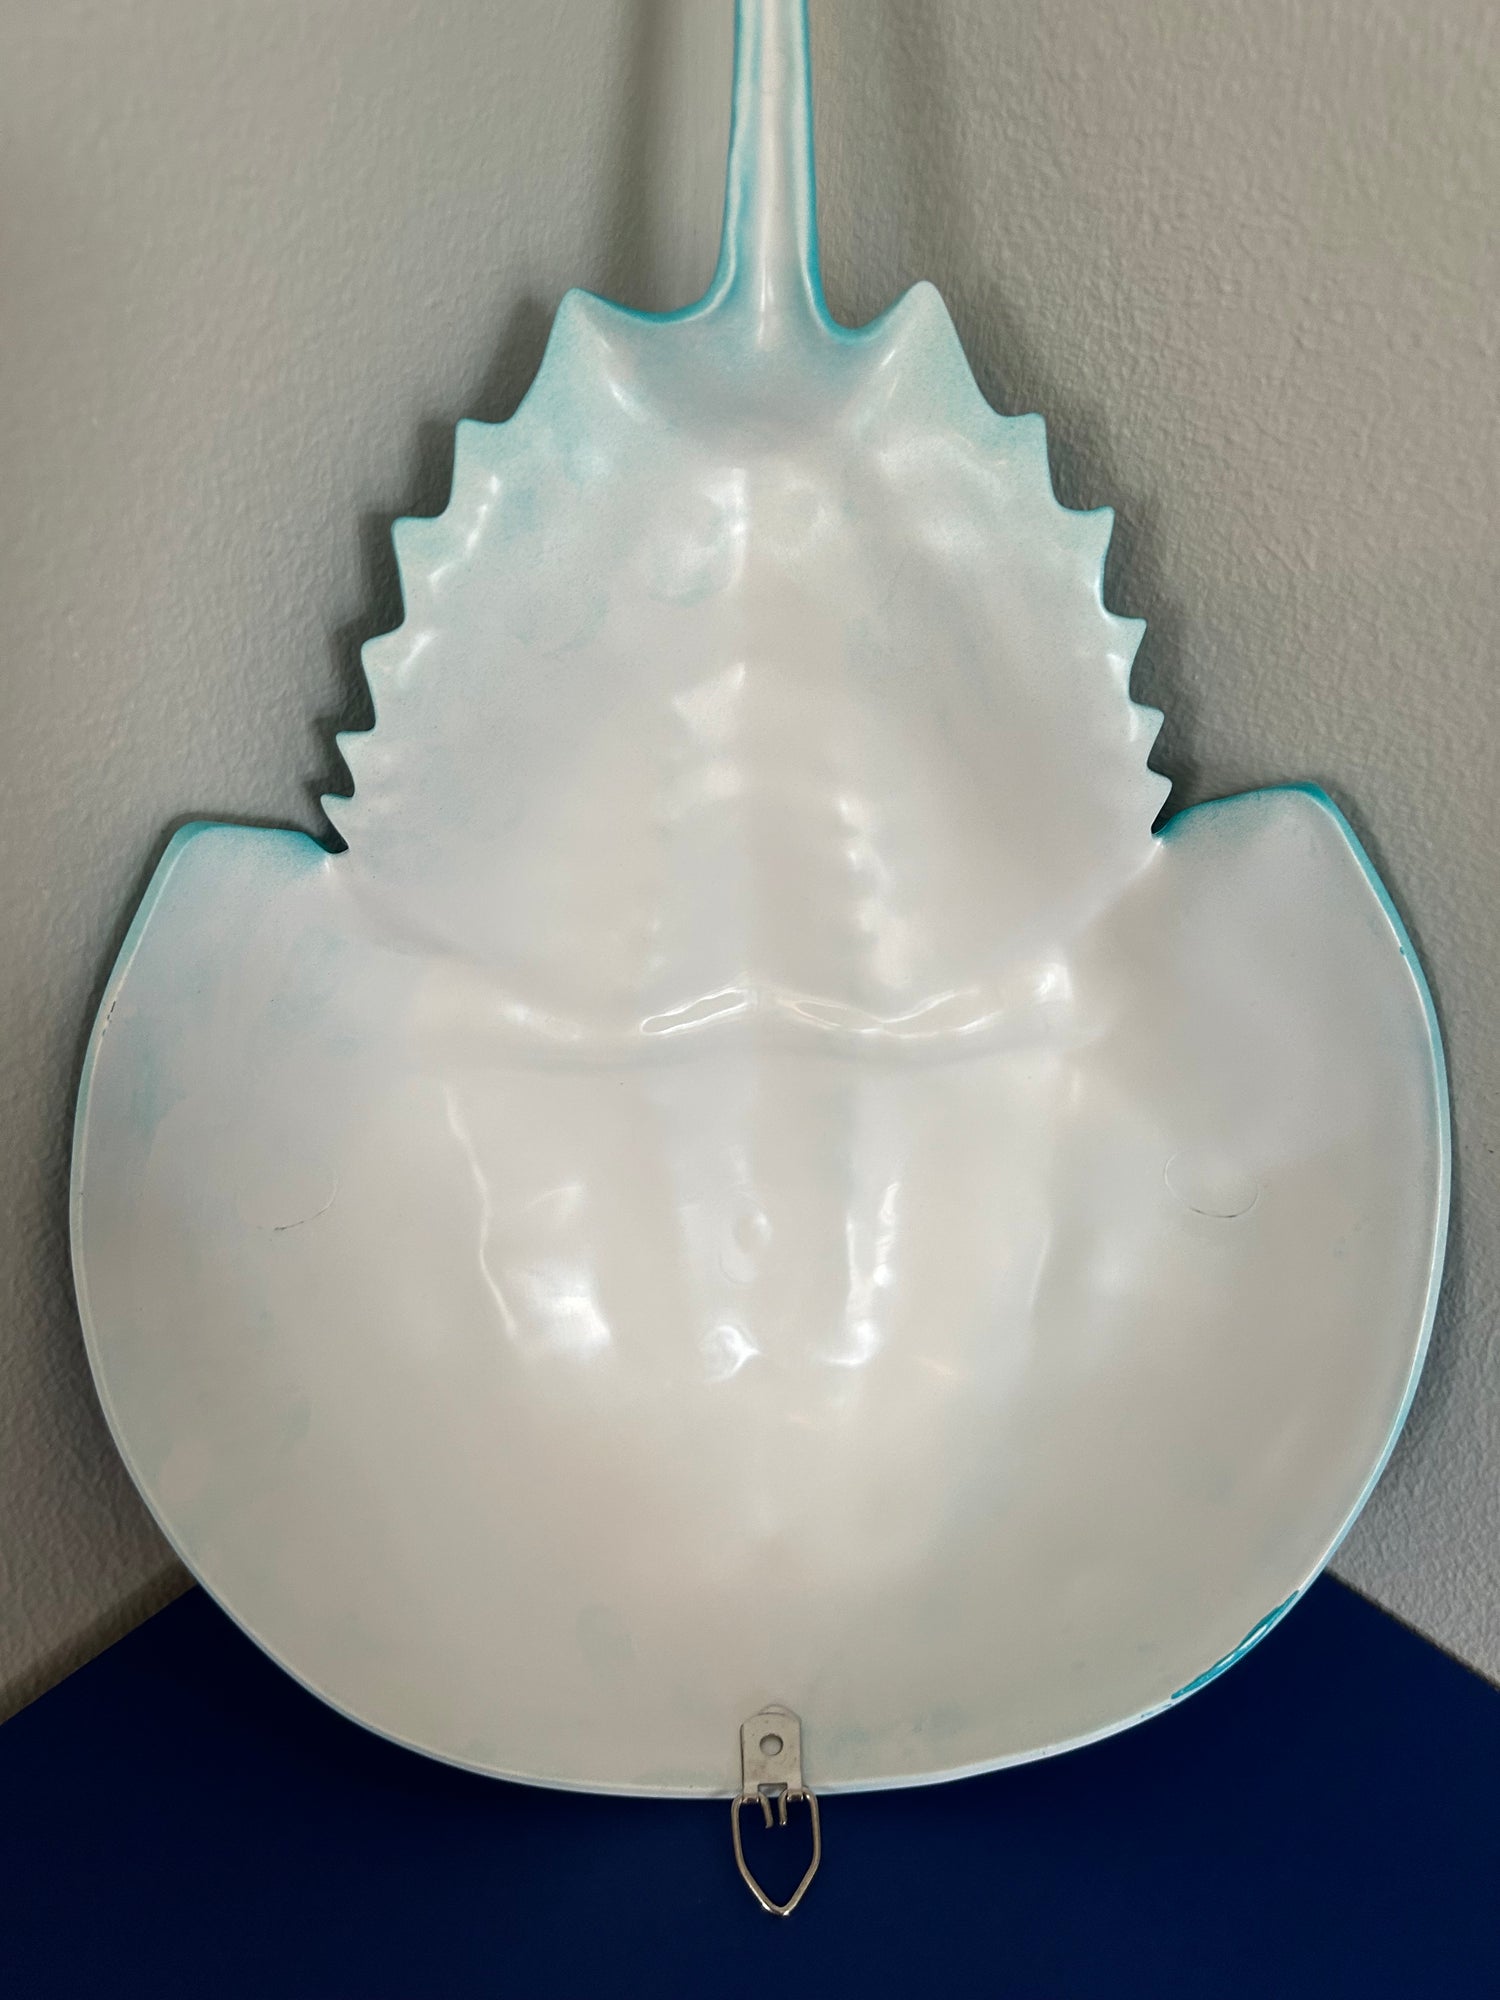
Step 2
Put the brace part of the hook directly in the glue. Leave the D-Ring hook section free to swing on the hinge.
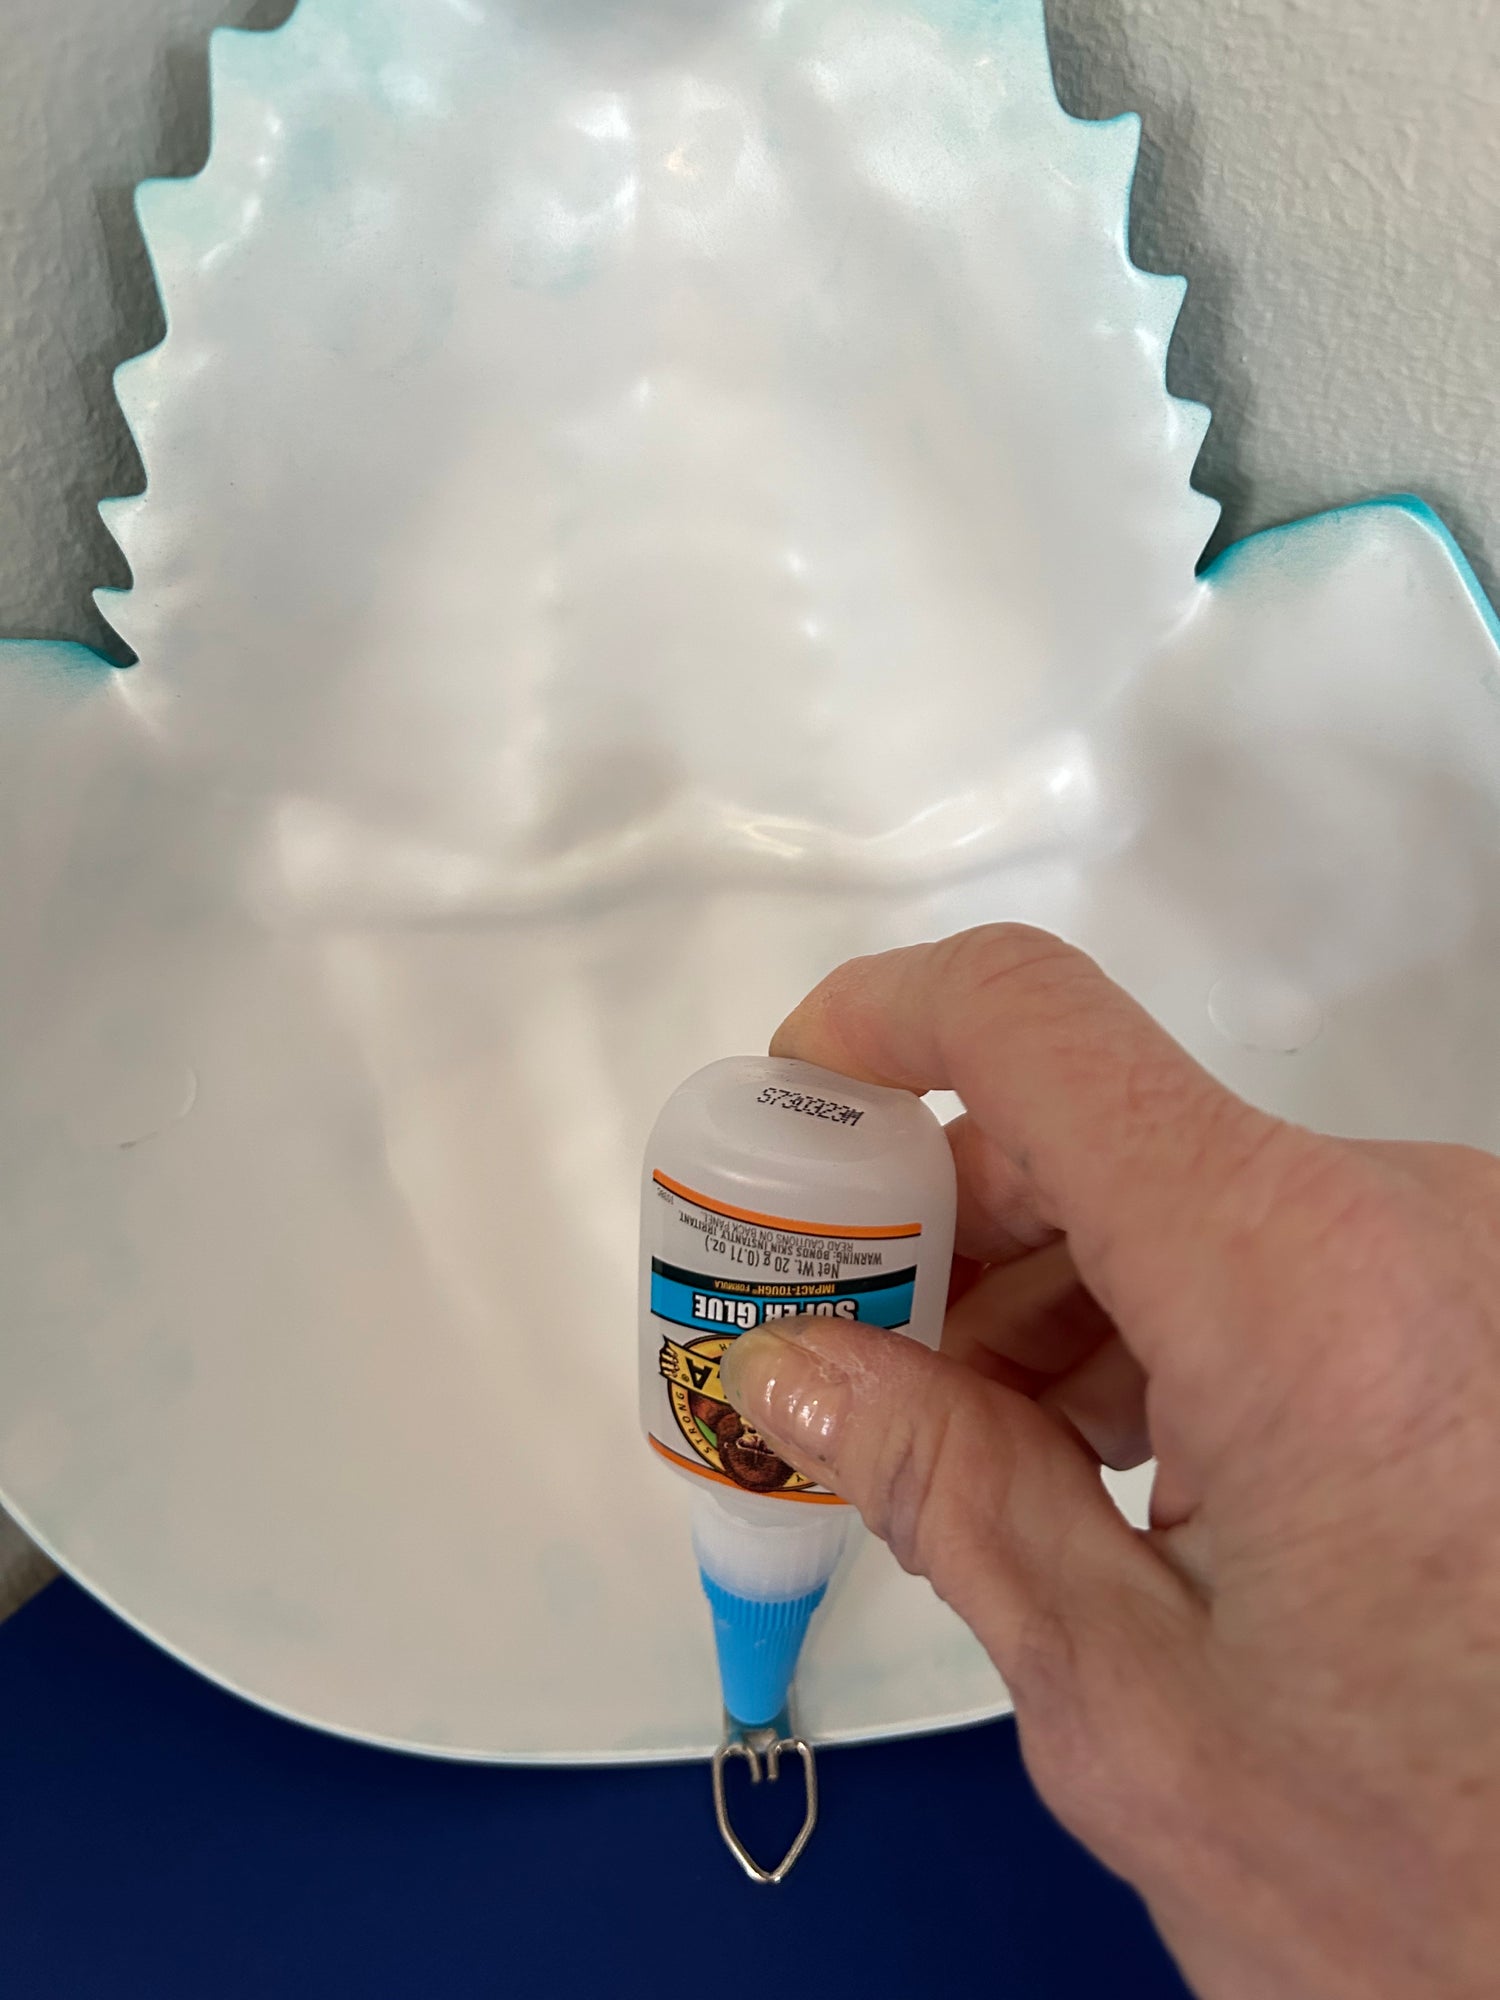
Step 3
Use the closed cap of the glue to push the brace part of the hook into the model to make a tight seal. Leave the model in this position until glue has dried. (We usually leave it for 12 hours to make sure the glue has cured.)
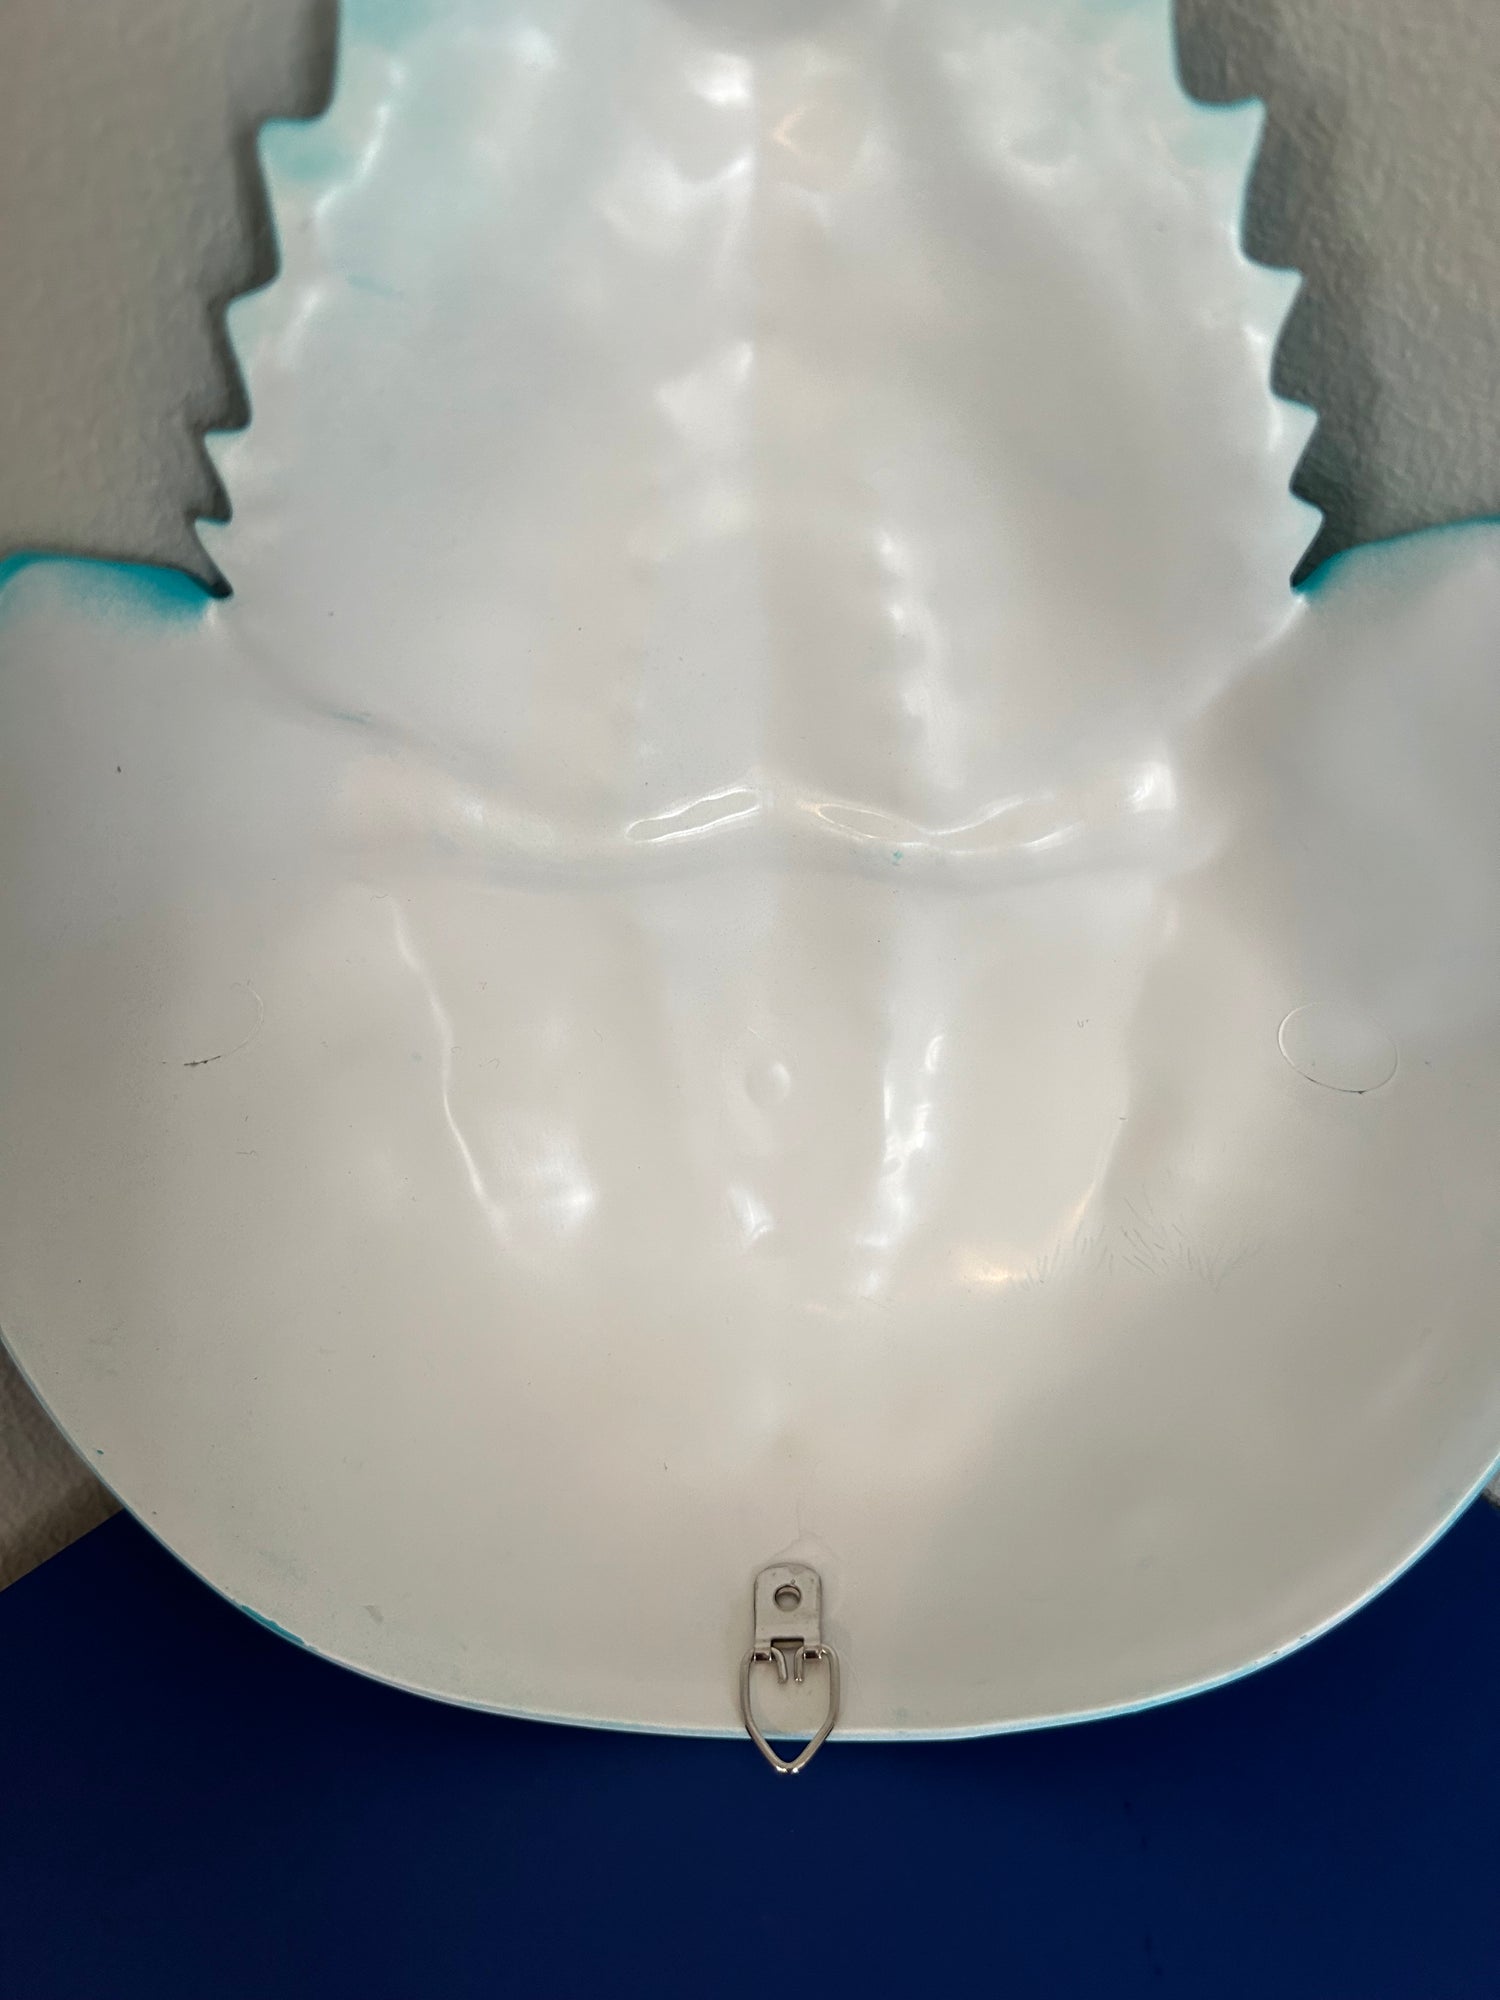
If you prefer not to see the hook...
Place the hook farther inside the 'shell' of your model if you do not want the hook visible when you hang your model on the wall. Depending on how far in you place the hook, you may need a longer nail to reach the hook.
Orient your model...
The model can be hung horizontally, etc. Simply adhere the hook in different locations depending on the preferred orientation.